Provision
Overview
As covered in the BrightSign Primer section, setting up a player for use involves applying a SetupSetup to the player, and applying a Setup File to a player using BrightSign Cloud is known as provisioning.
When powering up a new or factory reset player that has previously been provisioned, the player will automatically retrieve and apply the Setup File that was previously applied to it.
In many cases, it is best to provision the player prior to powering up the player. Players can be provisioned using the methods described below, and once provisioned, the player will configure itself per the applied Setup File upon bootup.
Prerequisites
- You must be logged in to a BrightSign Cloud account.
- Note the player serial number, which can be found on the bottom of the player or on the side of the packaging box.
- Connect the player(s) to an active network connection and to a display screen through HDMI®.
- The player(s) must have a blank, properly formatted storage device.
- You must have a Setup File:
- Note the Setup File name.
- Make sure that the Setup File is in the library (when creating the Setup File, choose Add Setup to Library).
Provisioning Individual Players
Add Player
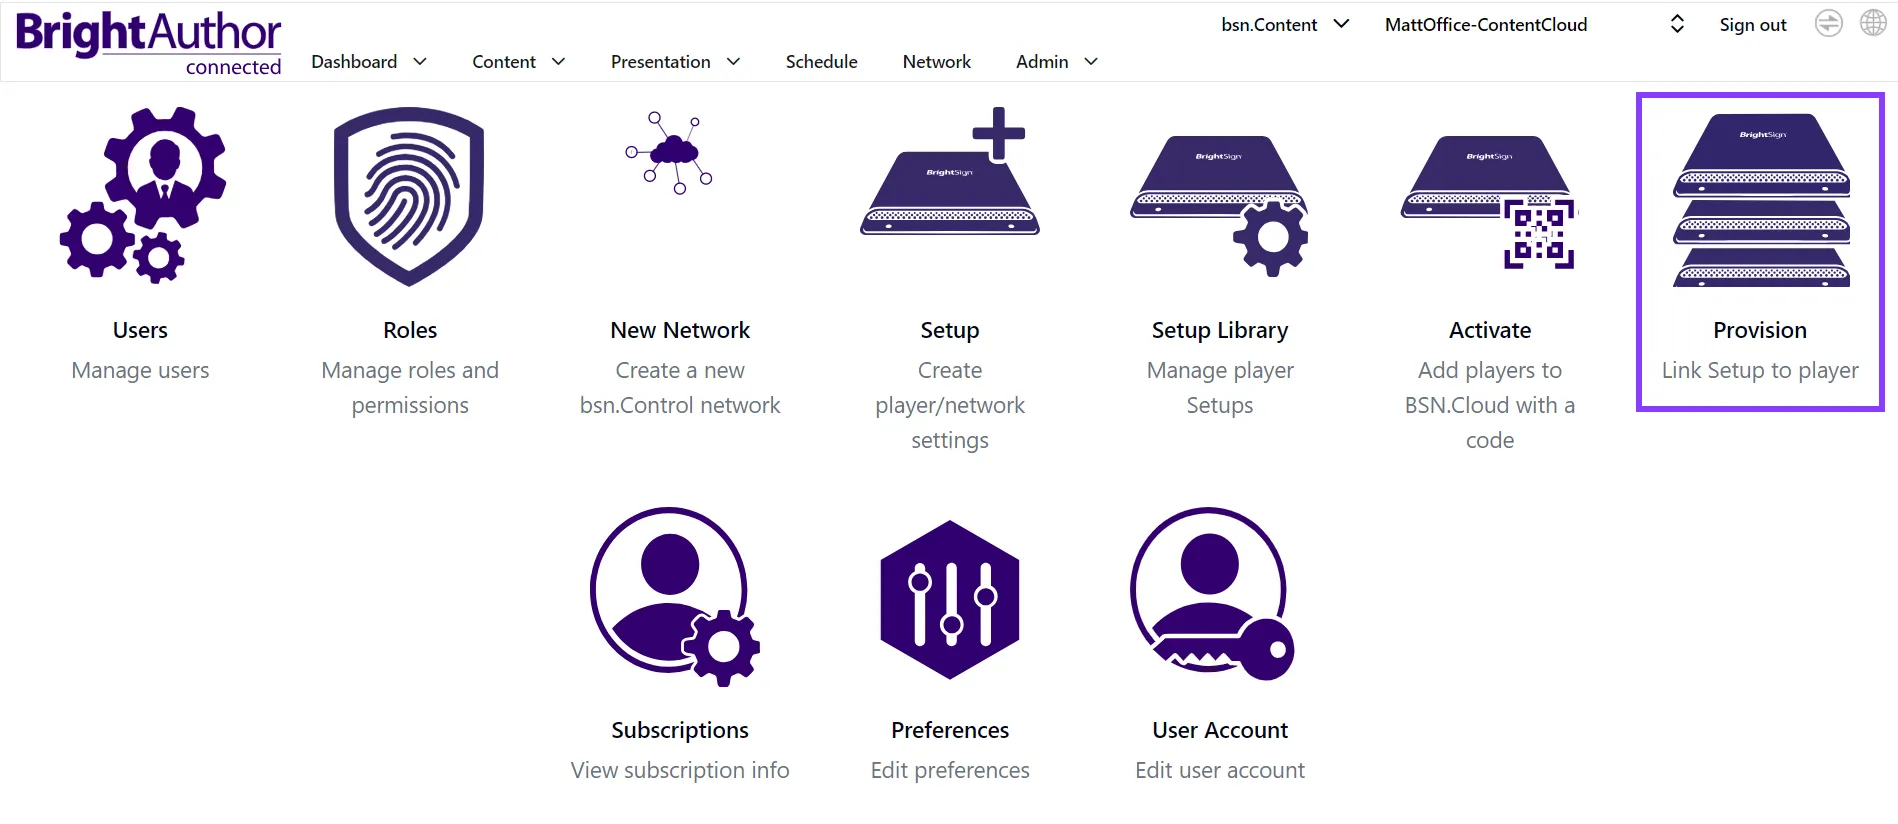
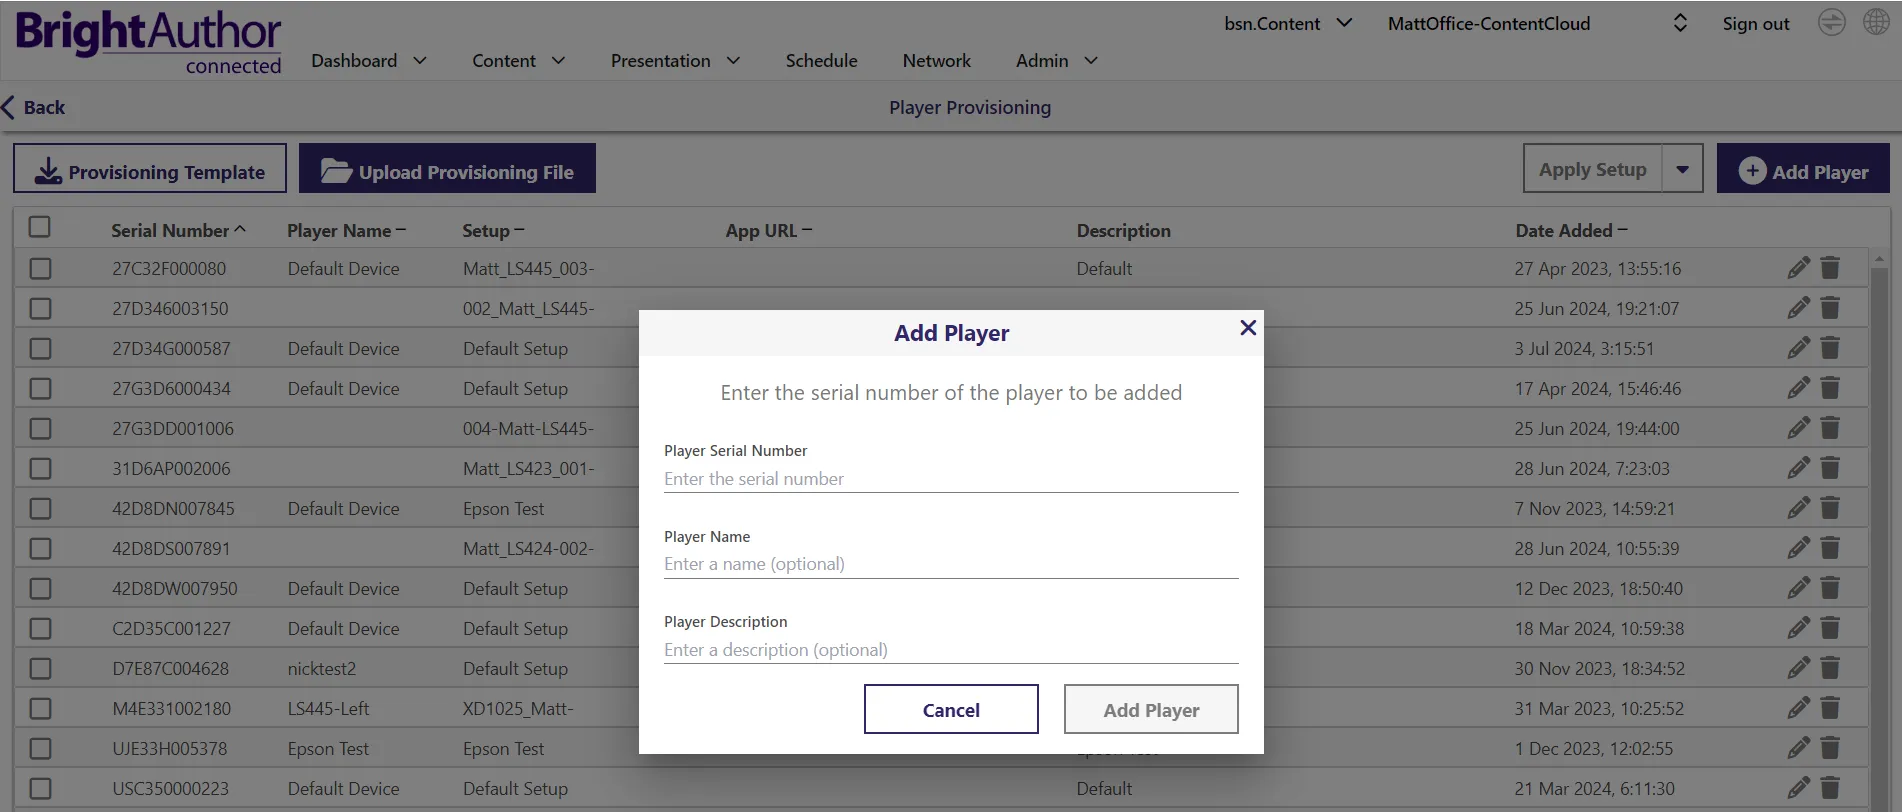
- Go to Admin > Provision.
- Select Add Player to add a player to the Provisioning list. You will be prompted to enter the following information:
- Serial Number: The serial number of the player.
- Player Name and Player Description: An optional name and description for the player. If these are not specified, the values in the Setup will be used.
Player Already Registered
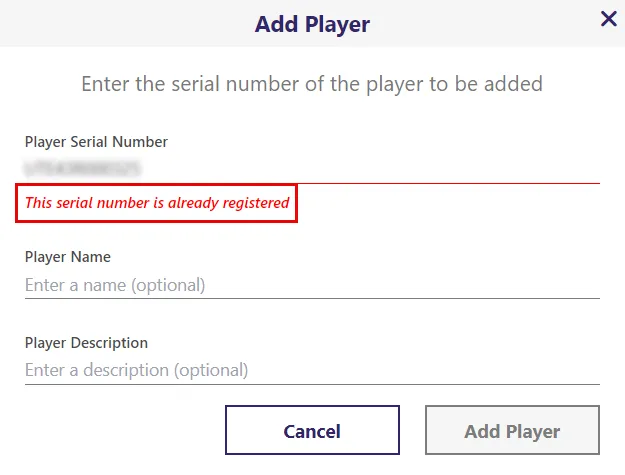
If you enter a serial number of a player that has already been provisioned, you will get an error as shown to the right.
If the player was brand new when obtained, then you or someone in your organization likely already provisioned the player and you should be able to find the player in the Player Provisioning list.
However, if the player was previously owned and provisioned, the previous owner / administrator must delete the player's provisioning record from their BrightSign Cloud network before you can provision the player for your BrightSign Cloud network.
For security reasons, only the current administrator of a player is able to delete that player's provisioning record. BrightSign is generally unable to remove player provisioning records. If you have a player that was previously provisioned, contact the previous owner / administrator and request that they delete the player's provision record.
Apply Setup
From Admin > Provision:
- Select the checkbox next to the player(s) you want to provision.
- Select Apply Setup:
- If the players have not been previously provisioned, they will download the appropriate Setup from the BrightSign Cloud servers when they boot up.
- If the players have had a Setup File applied previously, the new Setup File will take effect only when that player has been explicitly re-provisioned.
It is important to note that Apply Setup strictly establishes what should be applied to the player when the player is re-provisioned. If a previously provisioned player reboots or even if it is factory reset, it will not adopt the new Setup until the player has been explicitly re-provisioned. Re-provisioning is covered below.
The Apply App URL option lets you assign an application, via a player-accessible URL, to selected players in the list. Upon boot up, the players will download the application package from the specified App URL and set up the player for that application. App URL will shortly be renamed to CMS URL.
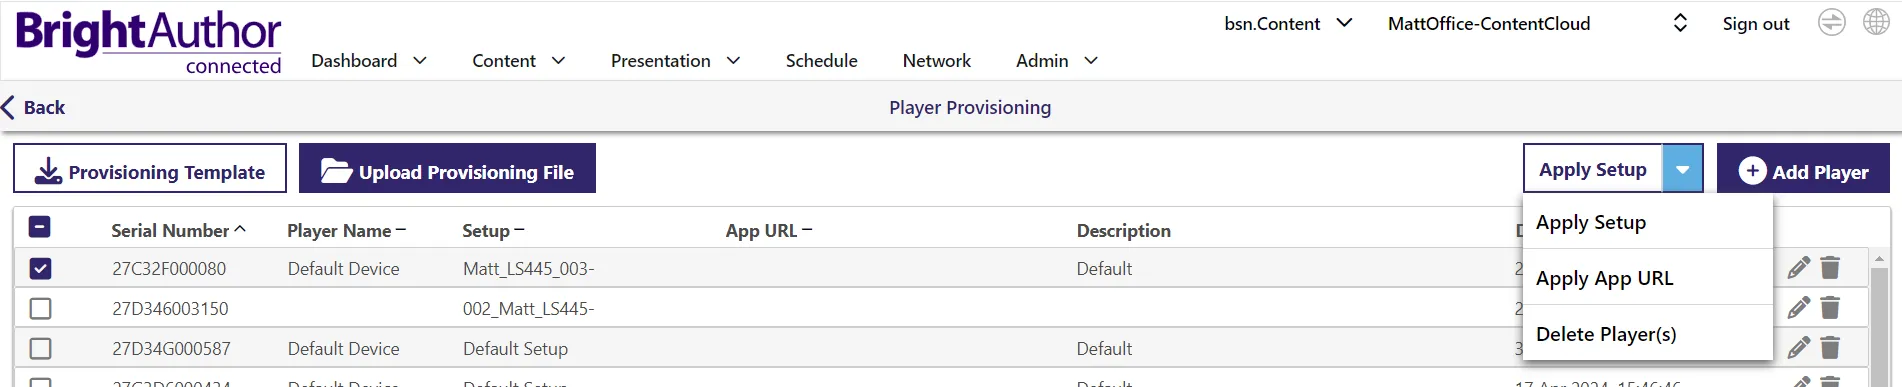
You can also Delete Player(s) from the Provisioning list. If you delete a player's provisioning record, it will be disassociated from its BrightSign Cloud network and will no longer automatically retrieve a Setup package from BrightSign Cloud. When a player is booted up without an associated provisioning record, it will display an activation code, which you can use to create a provisioning record for the player. Other methods of provisioning the player are the BrightSign Author Provision tab or the B-Deploy API.
Bulk Provisioning
Bulk Provisioning is the process of provisioning multiple players at once.
- Go to Admin > Provision.
- Select the download icon to download the Provisioning Template as a CSV file. Enter the:
- Serial Number (required)
- Player Name
- Setup name (required)
- App URL
- Description
- Save the CSV file.
- Select Upload Provisioning File to upload the saved CSV file. Once the file has been uploaded, players listed in the file will be automatically provisioned per the file.
- Review the player list for bulk provisioning and select Submit. The players will automatically download and apply the new Setup Files from the cloud.
Note that the CSV template includes a column for Setup as well as App URL. If a player is desired to be provisioned for App URL, it can be done with a Setup File where the Setup File includes the App URL information. Alternatively, the App URL can be directly entered in the CSV file, negating the need for a Setup File. If a Setup File that includes an App URL is specified and an App URL is entered in the CSV column, the App URL in the Setup File will take precedence.
Default Provisioning
If a Setup File is not explicitly applied to a player, the Default Setup will be applied to the player when it is provisioned.
Reprovisioning
As mentioned above, Apply Setup strictly establishes what should be applied to the player when the player is reprovisioned. If a previously provisioned player reboots or even if it is factory reset, it will not adopt the new Setup File until the player has been explicitly re-provisioned.
The re-provisioning process performs the following actions:
- Clears the player storage
- Clears the registry settings used by BrightSign Cloud but retains some register settings, specifically the player’s networking settings (e.g., WiFi configuration).
- Reboots the player
- Upon reboot, the player will download and apply the Setup File associated with its provisioning record.
- If no Setup File has been applied to the player, the player will boot to the ActivateActivate screen.
Re-provisioning a player consists of the following steps:
- Apply a new Setup File to the player.
- When a player is added (either via Provision > Add Player or via a Provisioning File using the Provisioning template) with no Setup File explicitly applied, the Default Setup File will be applied.
- Explicitly re-provision the player so that the new Setup takes effect.
Apply a New Setup
To re-provision the player, first go to Admin > Provision where you should see your player(s) listed. From here, follow the steps below.

- Select the player from the list. Multiple players can be selected to apply the same Setup to.
- Click Apply Setup.
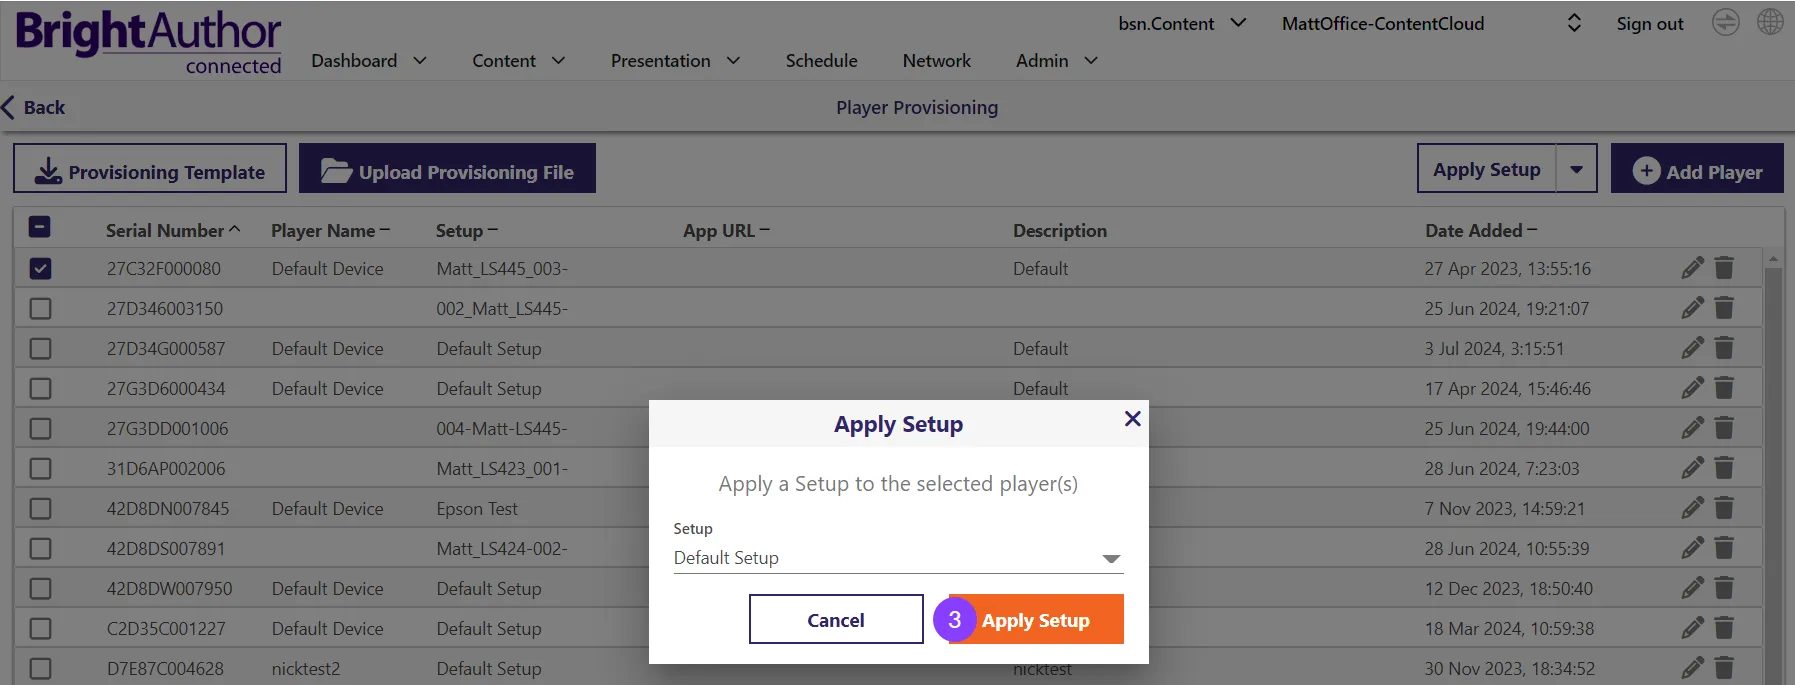
3. A pop-up will appear with a drop-down list of all the Setup Files in the Setup Library. Choose the desired Setup File from the drop-down list and click Apply Setup.
Reprovision the Player
When a new Setup File is applied to a player, the new Setup File does not automatically go into effect on the player. After applying the Setup File, the player must be explicitly reprovisioned (after which the player will reboot) in order for the new Setup File to be active on the player.
Find the player in the Network tab and select the settings (gear) icon:

From there, navigate to the Control tab, Reprovision Player. Note the actions that will occur and select Reprovision.
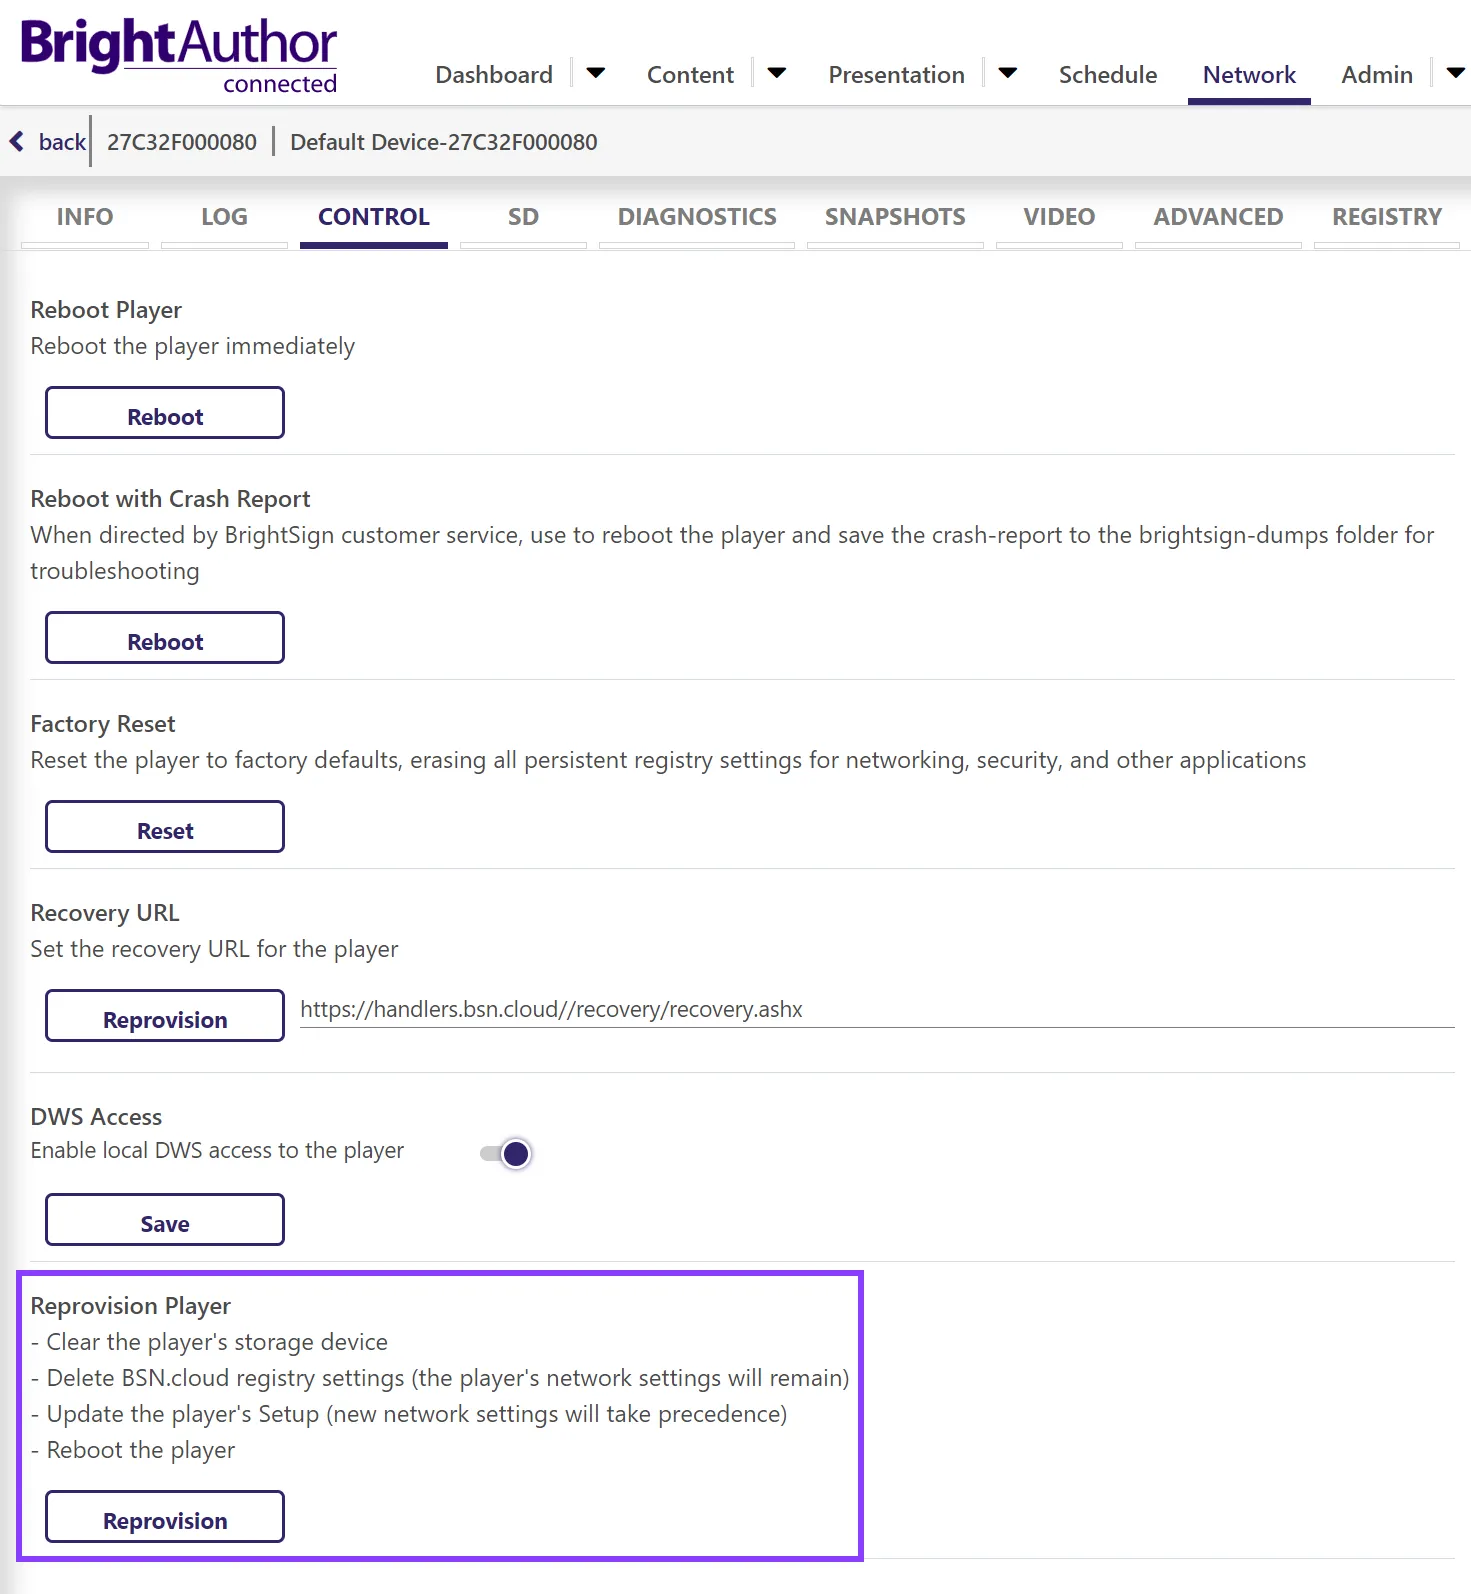
There may be a message asking to confirm that there is indeed a Setup that has been applied to the player. If a Setup has not been first applied to the player, the player will connect to BSN.cloud to download and apply the Default Setup.
Deleting a Provision Record
- Go to Admin > Provision and delete the player from the Provision table by clicking the delete (trash can) icon.
- Go to the Network tab and find the player. Click the gear icon to access the player's RDWS.
- Navigate to the Control tab of the player’s RDWS and click the Reprovision button which will cause the player to reboot.
- Since no Setup has been applied to the player, the player will boot to the ActivateActivate screen.
- After the player has rebooted, go the Network tab and click the delete (trashcan) icon to delete the player from the network.
- This is more of a housecleaning step and while recommended, is not strictly necessary. If not done, the player will continue appearing in the Network tab but show an Inactive status.
BrightSign does not remove provision records from players because of the potential for theft. We also do not provide information about the network they are provisioned to for privacy reasons.
If you purchase a secondhand player, the seller must remove the provision record. If an ex-employee is the only administrator on the BSN.Cloud network, your IT department must access their email to reset their password and remove the network provision record/add administrators.
Reprovisioning vs. Factory Reset
Users should understand some key differences between reprovisioning and a Factory Reset. Reprovisioning applies a new Setup without affecting network settings, while a factory reset is a more comprehensive reset that clears all settings:
Reprovision | Factory Reset |
|---|---|
Clears the player storage | Does not clear the player storage |
Clears most registry settings but importantly does not clear the player’s network settings (e.g., WiFi configuration) | Clears all registry settings including the player’s network settings. |
| Does not affect the player’s provisioning record on BSN.cloud. The player’s Setup on record will be applied again after the player boots back up. Changing the player’s Setup requires reprovisioning the player. |
Additional Info
See this video for more information about provisioning players and creating player groups to display different Setups in different groups.