Create and manage scenario templates
In , you can create templates and share them with your teammates or general users. There are two types of Make templates:
- Team templates include private and published templates. By default, all team templates created by you or your team are private and only accessible within your team. Once they are published, you can share them with any user via a link.
- Public templates are available in the public templates library and accessible to all Make users. Any team template can be submitted for review to to become a public template. Once approved, it will be included in the public templates library for general use.
Templates are available on all Make plans. Anyone can create and share scenario templates.
Create scenario templates
You can create a new template using the Builder.
Click Templates in the left sidebar.
Click + New template in the upper-right corner.
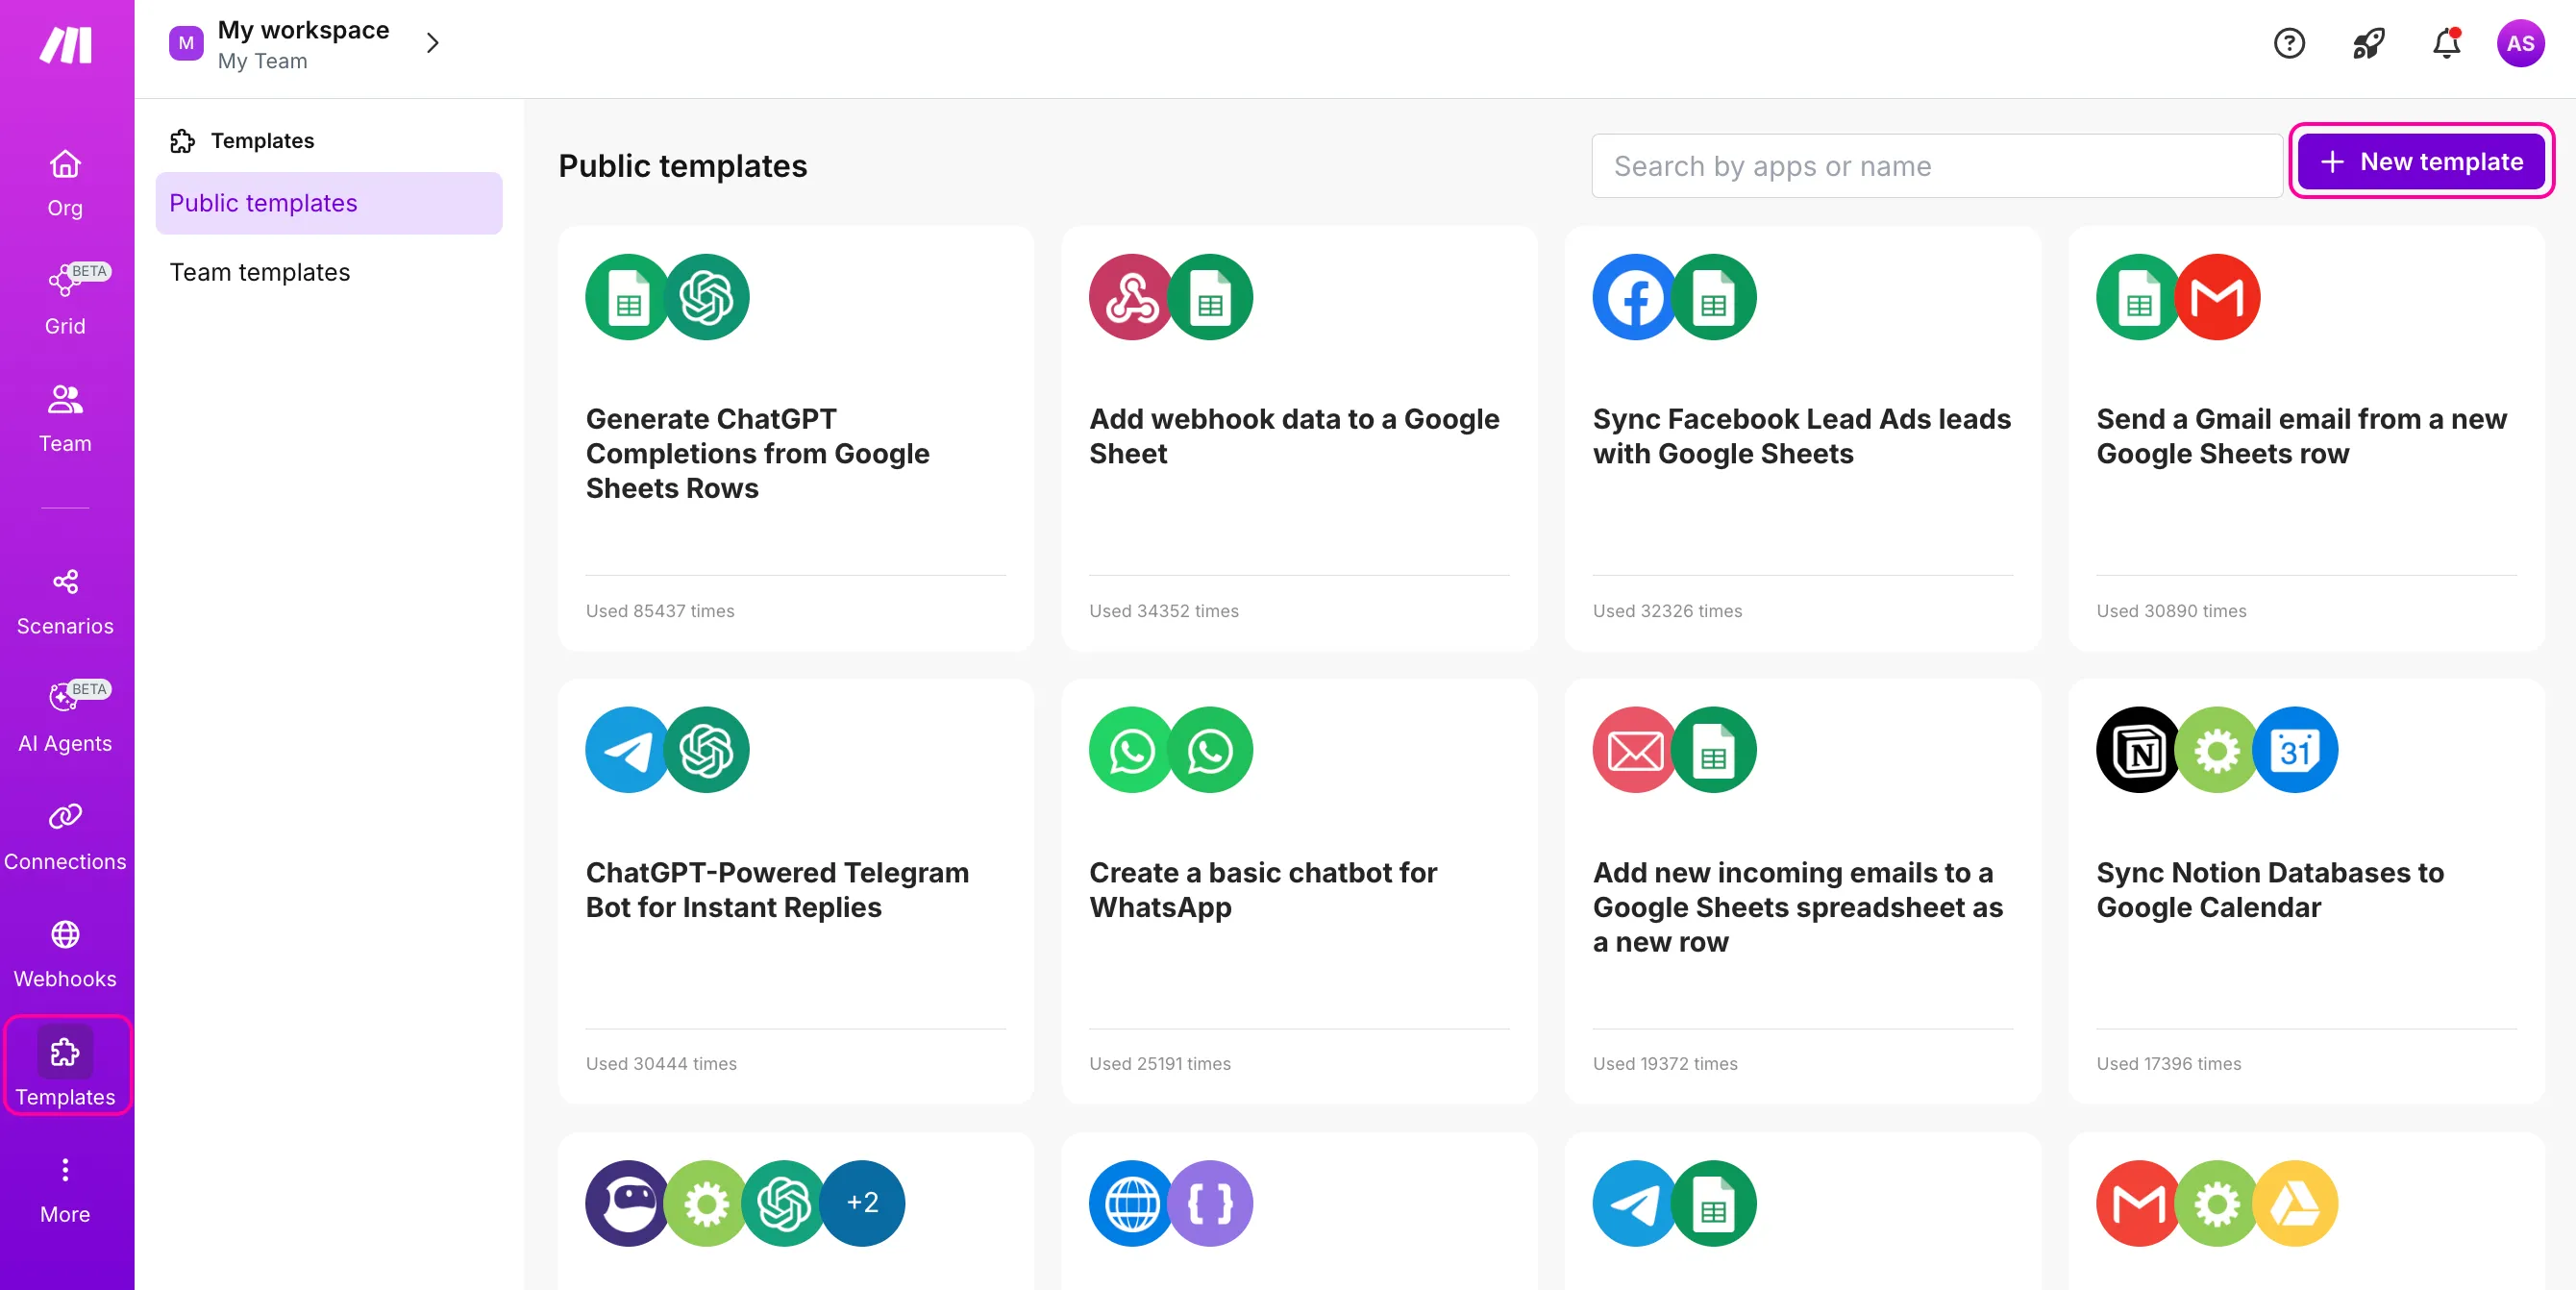
The Builder opens.
By default, names the template as “New template”.
To rename it, click the title at the top of the canvas and enter a new one.

Building a template works the same way as creating a scenario, with one key difference. Here, you can define how certain fields will appear when someone uses the template to create a :
- Check Use in Wizard box to include the field in the guided setup. If you don't check this box, the field will be hidden from users. When selected, a Help box appears where you can add a short description to guide users in configuring the field.
- Check Use as a default value box to additionally suggest a predefined value for a field. Users will see this suggestion during setup, but can still change it if needed.

- Here's what users will see when they set up the template to create a with these options enabled:

Keep in mind:
- If you don't check either box, the field and its values will be hidden from users during the guided setup, but will still appear when they start editing the scenario from that template.
- All values added to the fields in the template will be visible during editing, regardless of the guided setup options you choose.
- Wizard prompts are displayed only if the user chooses a guided setup when creating a from a template.
It's particularly important to check both Use in Wizard and Use as a default value boxes when adding a module with dynamic, customizable fields (e.g., Set multiple variables).
This ensures that users see the fields when they create a from your template.
If the Use in Wizard and Use as a default value checkboxes do not appear:
- In the Module settings window, click Save and close the window.
- Right-click the module and select Settings. The Use in Wizard and Use as a default value checkboxes now appear.
You can also include a short description of the and of the template to explain what they do:
- Click Set up a template (gear icon) in the toolbar at the bottom of the Builder.
- Add a template description (max. 1500 characters) and/or a description (max. 240 characters).
- Click Save.
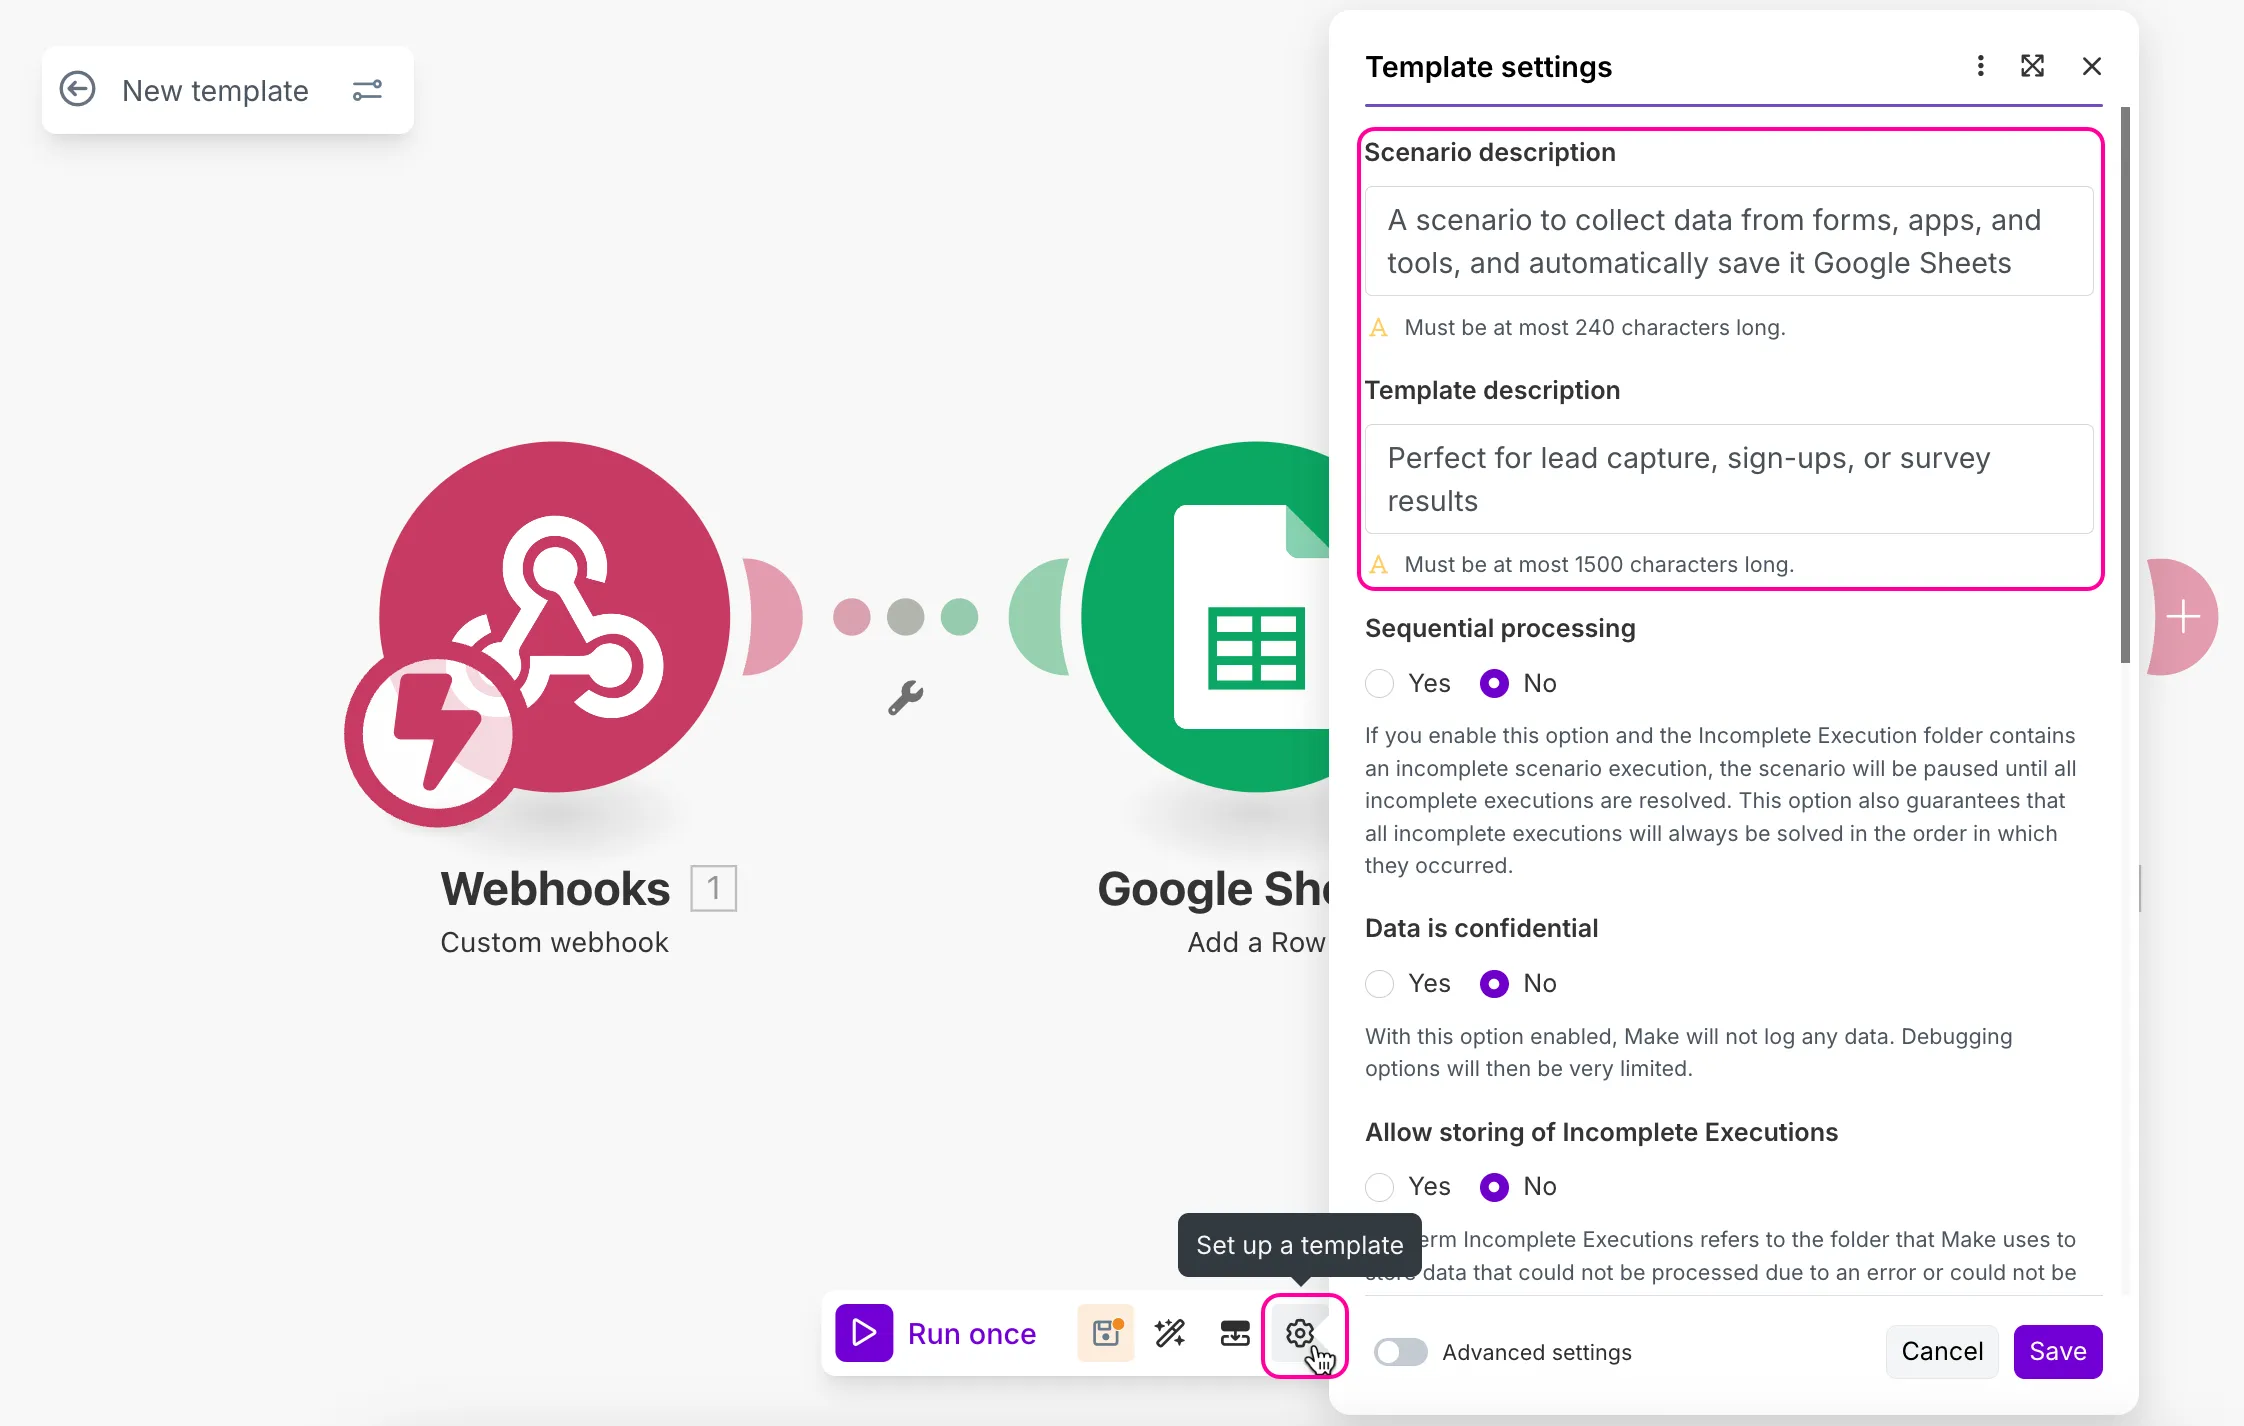
- The template description appears in the information panel when you share the template. The scenario description will be included in the scenario created from that template.

Once you are done, click the Save icon to save your template.

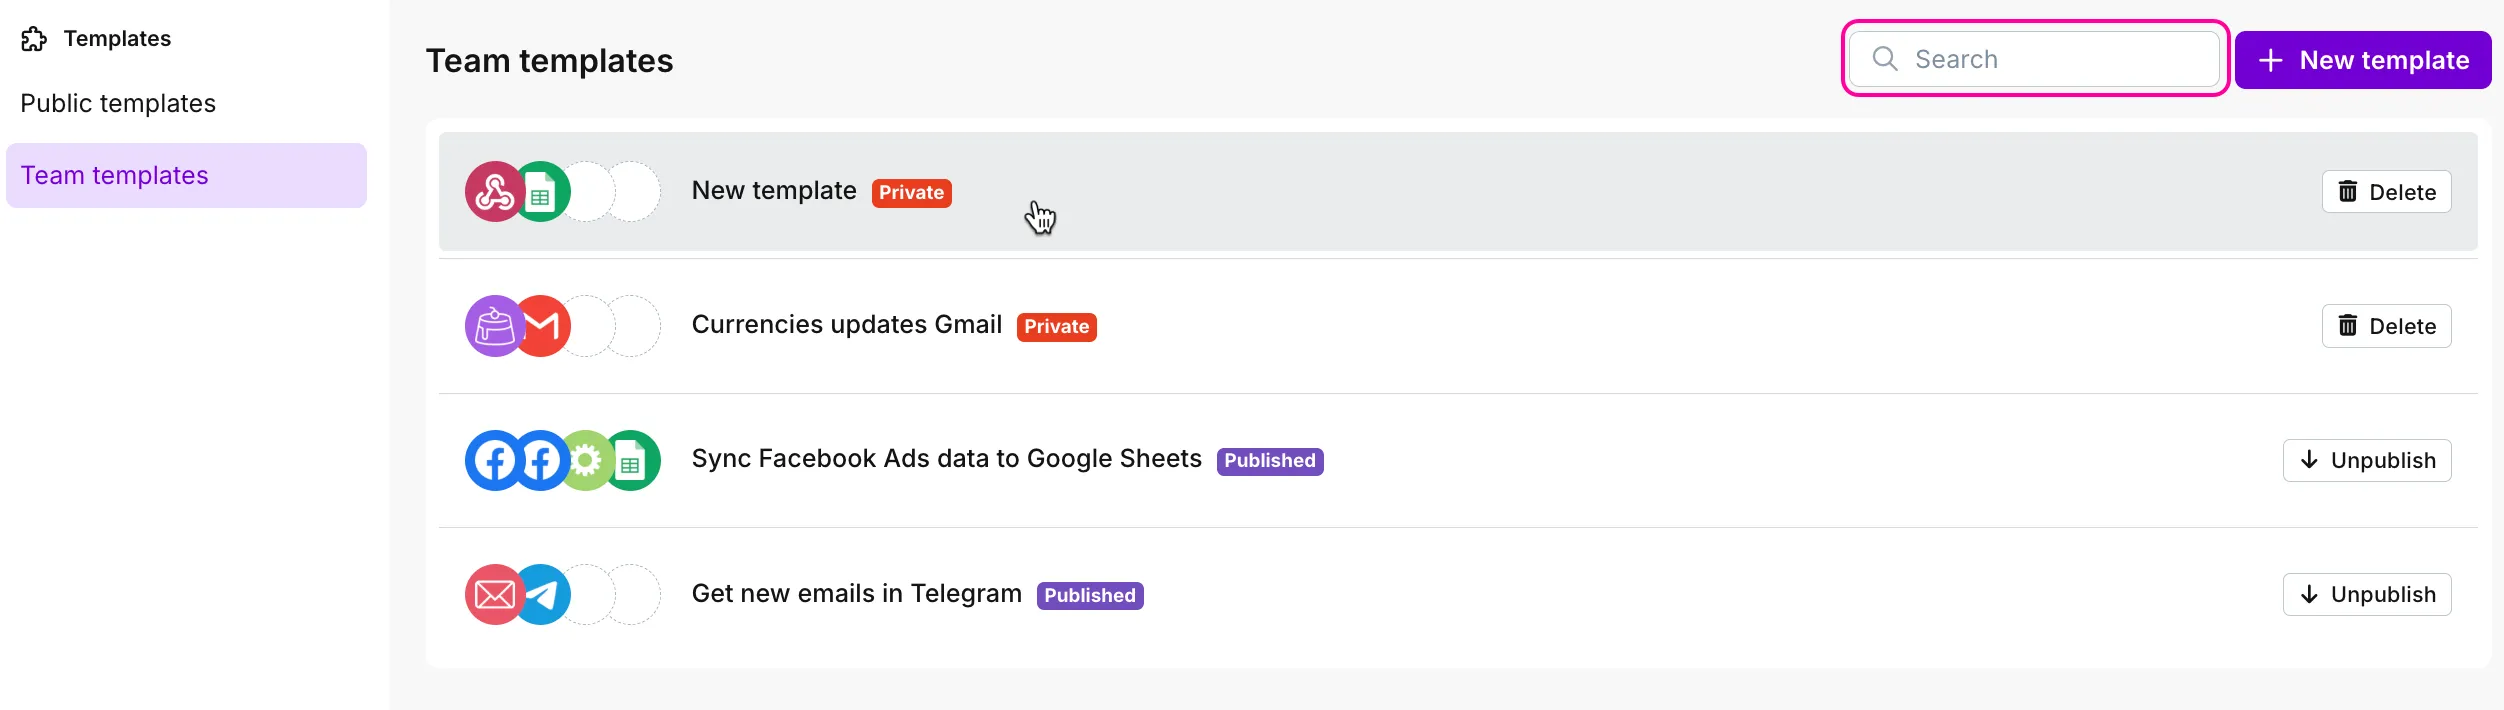
You can find this and all other templates you've created in the Team templates tab. If the list is too long, use the search box to find templates quickly.
Rename scenario templates
You can only rename your team templates. If you rename a published template, you need to publish it again after changing the name. Users who have the link to the previously published version will see the updates once you republish the template.
To rename an existing team template:
Open it from the Team templates tab.
Click Options > Rename.
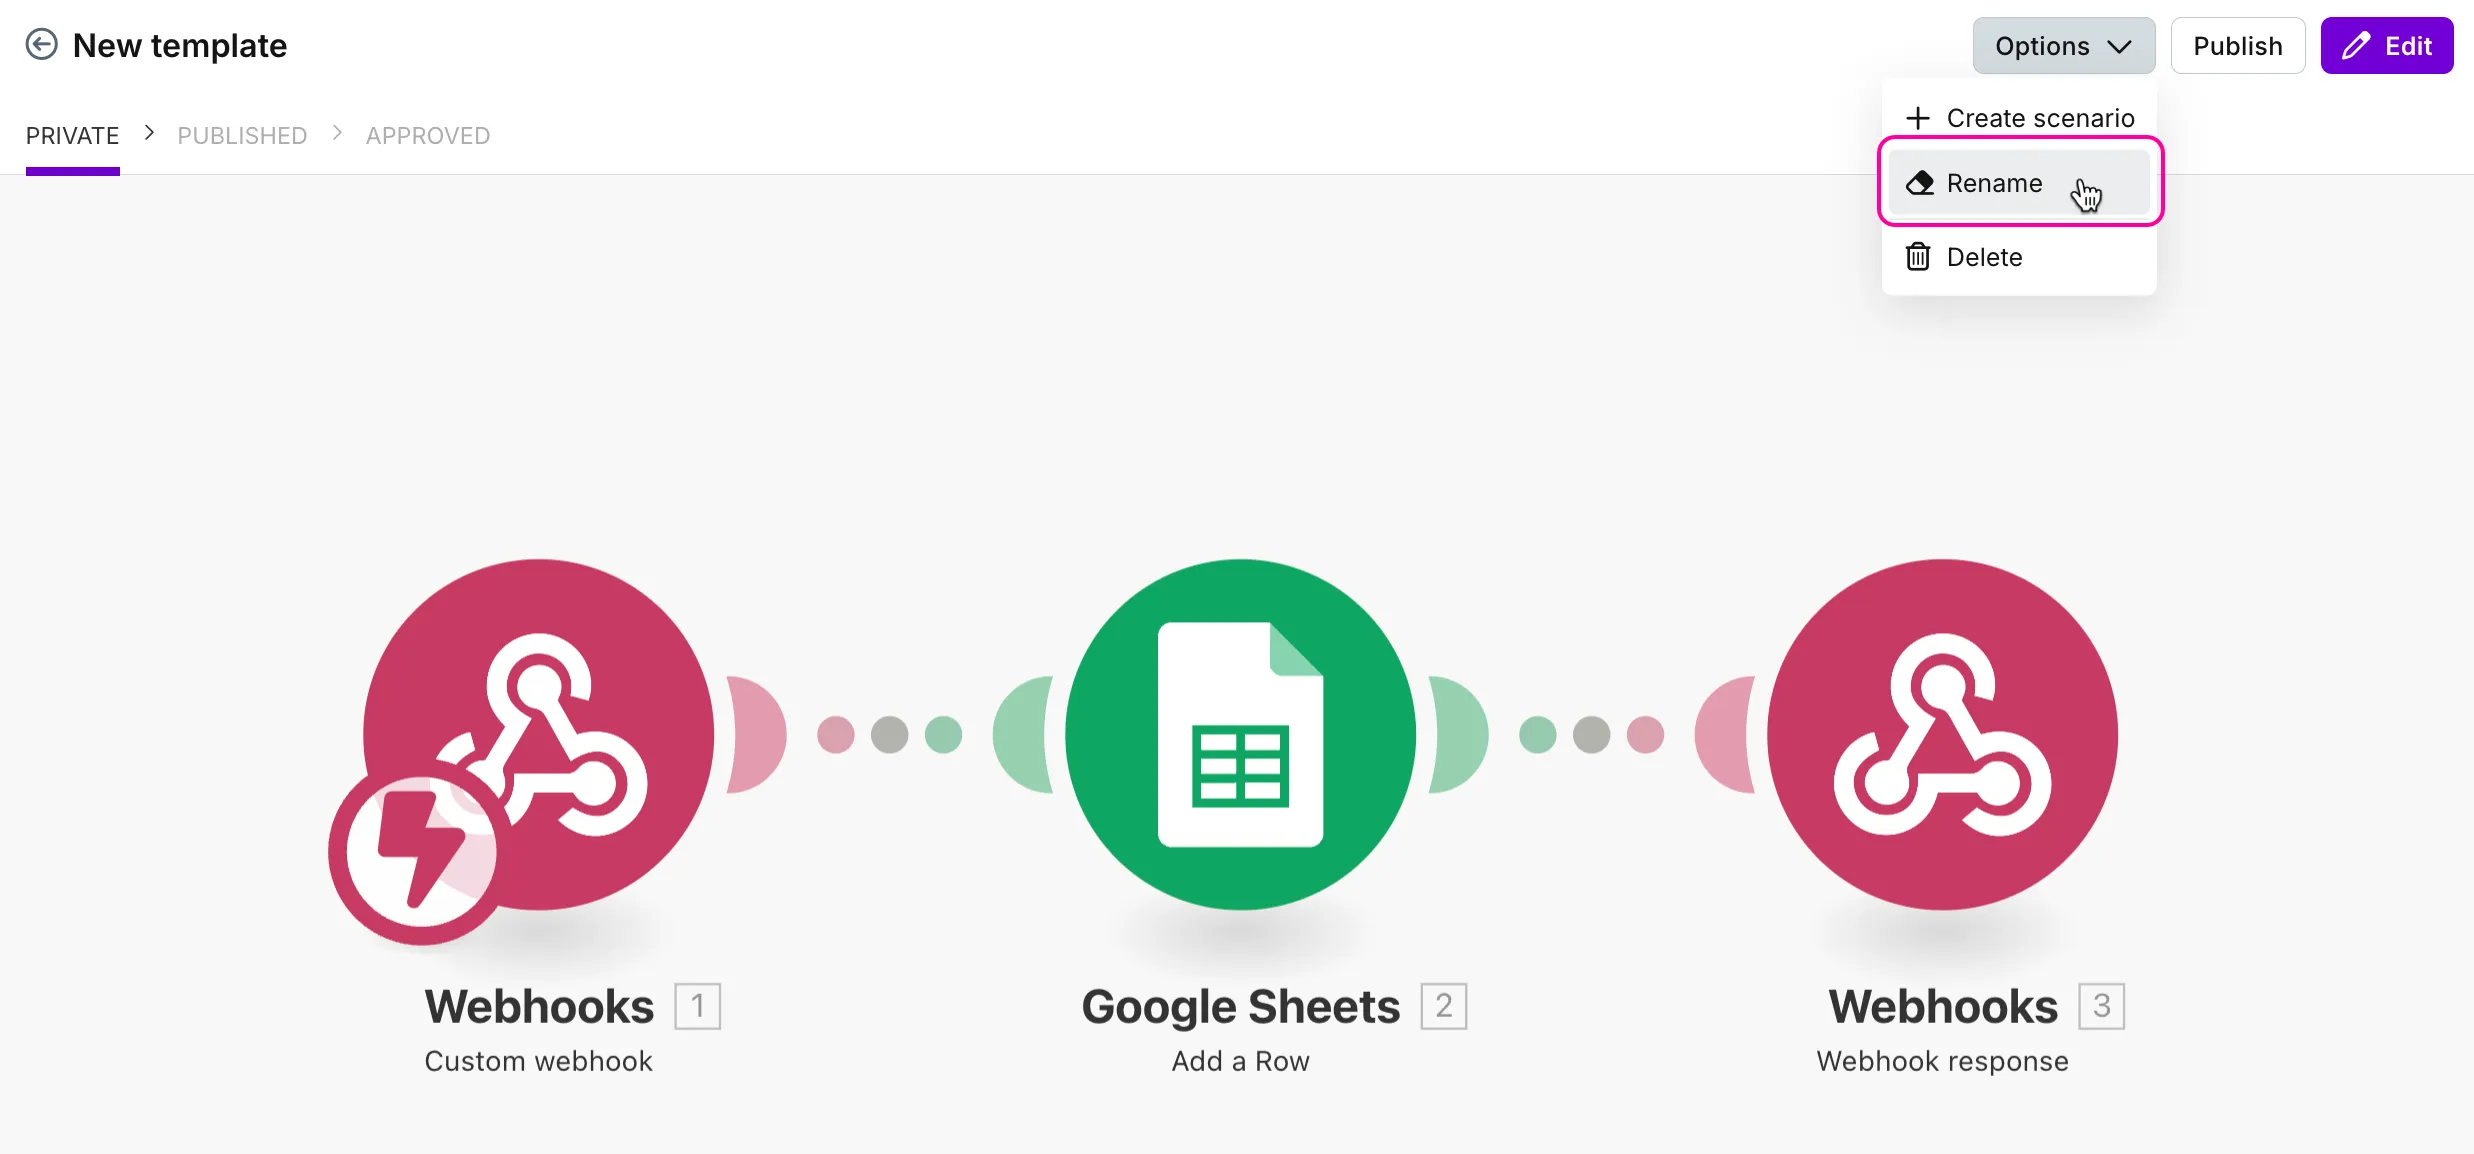
Your template will be renamed. If it's a published template, you can click Publish so the update is reflected in the published version.
Edit scenario templates
You can only edit your team templates. If you edit a published template, you need to publish it again after editing. Users who have the link to the previously published version will see the updates once you republish the template.
To edit a template:
Open it from the Team templates tab.
Click Edit.
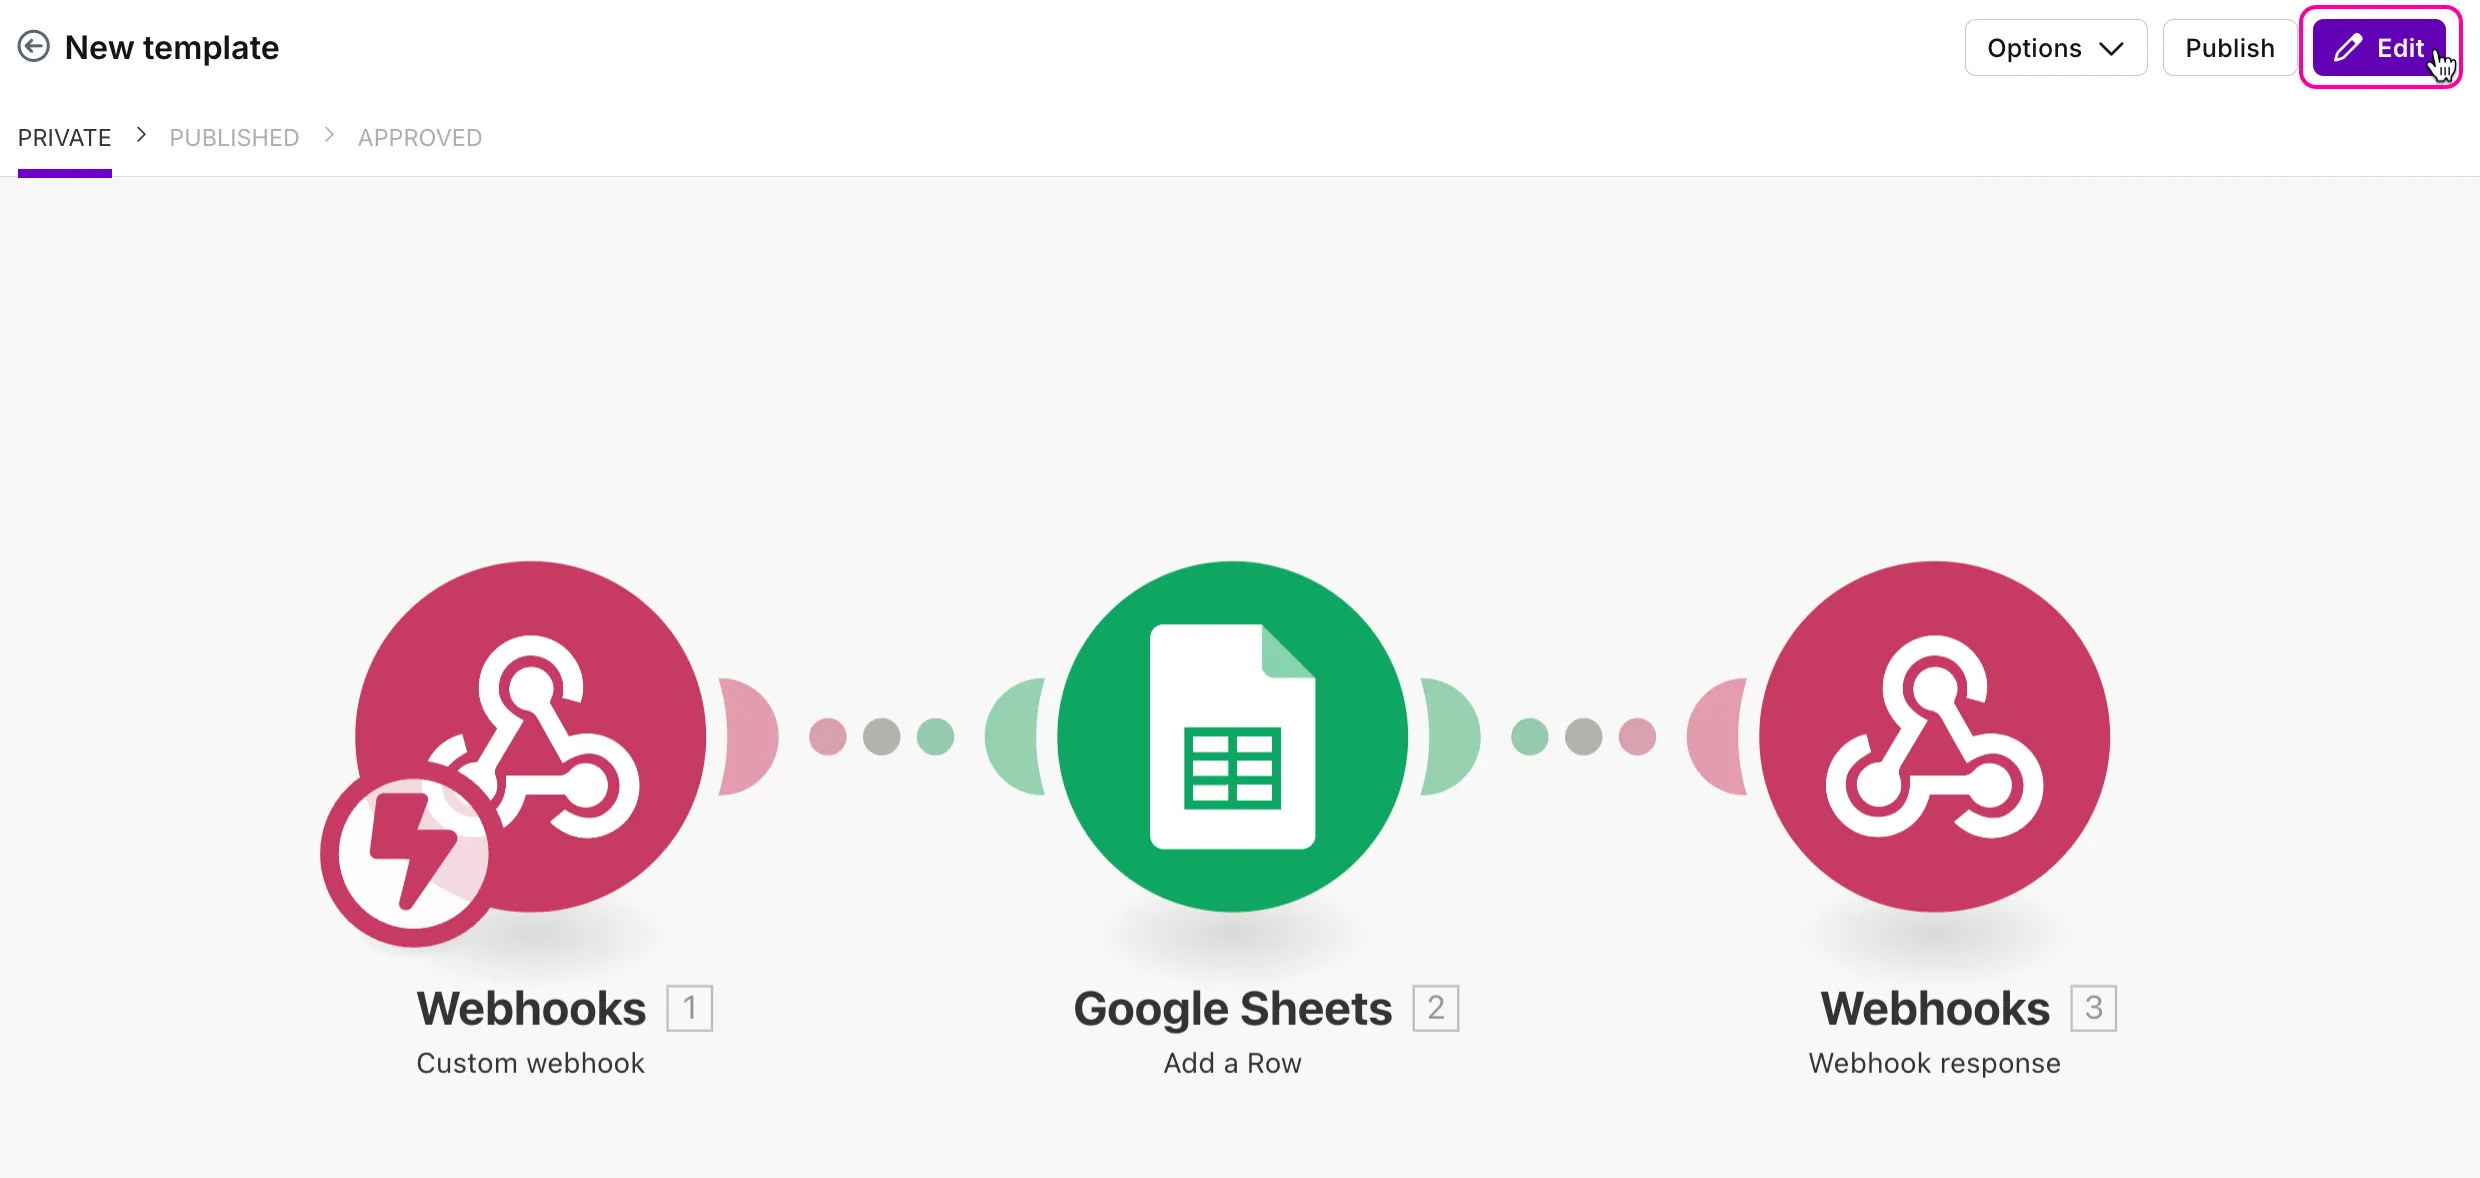
Editing a template works like editing a . In addition, you can adjust the Use in Wizard and Use as default value options you set when creating the template.
Once you are done editing, click the Save icon.
The changes you’ve made will be applied to your template. If it's a published template, you can now click Publish again so the update is reflected in the published version.
Delete scenario templates
You can delete any of your private or published templates.
Published templates must be unpublished first.
You can delete a scenario template from the Team templates tab or directly within the template.
To delete a template from the Team templates tab:
Click Delete next to the template.
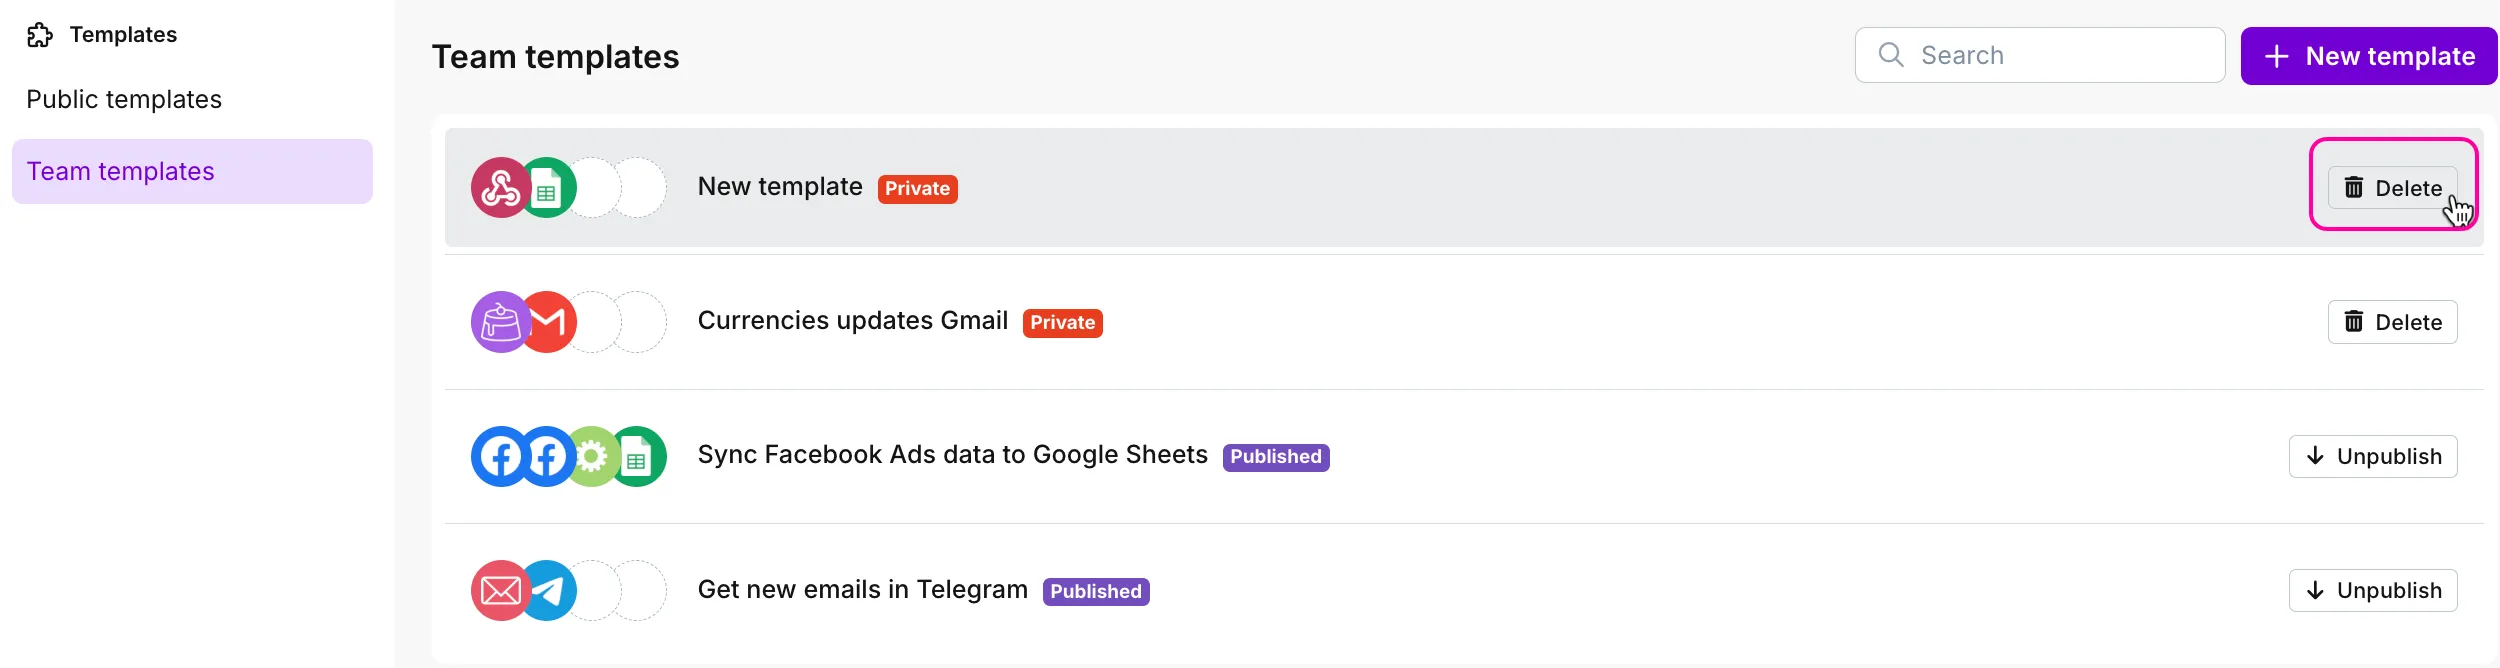
Click Delete to confirm.
To delete a template within the template itself:
Open the template.
Click Options in the upper-right corner.
Click Delete.

Click Delete to confirm.
The template will be permanently deleted. Any public links to a deleted template will no longer work.
Publish scenario templates
To share your scenario template with others, you must first publish it.
To publish a template:
Go to the Team templates tab.
Select the template you want to share.
Click Publish in the upper-right corner.
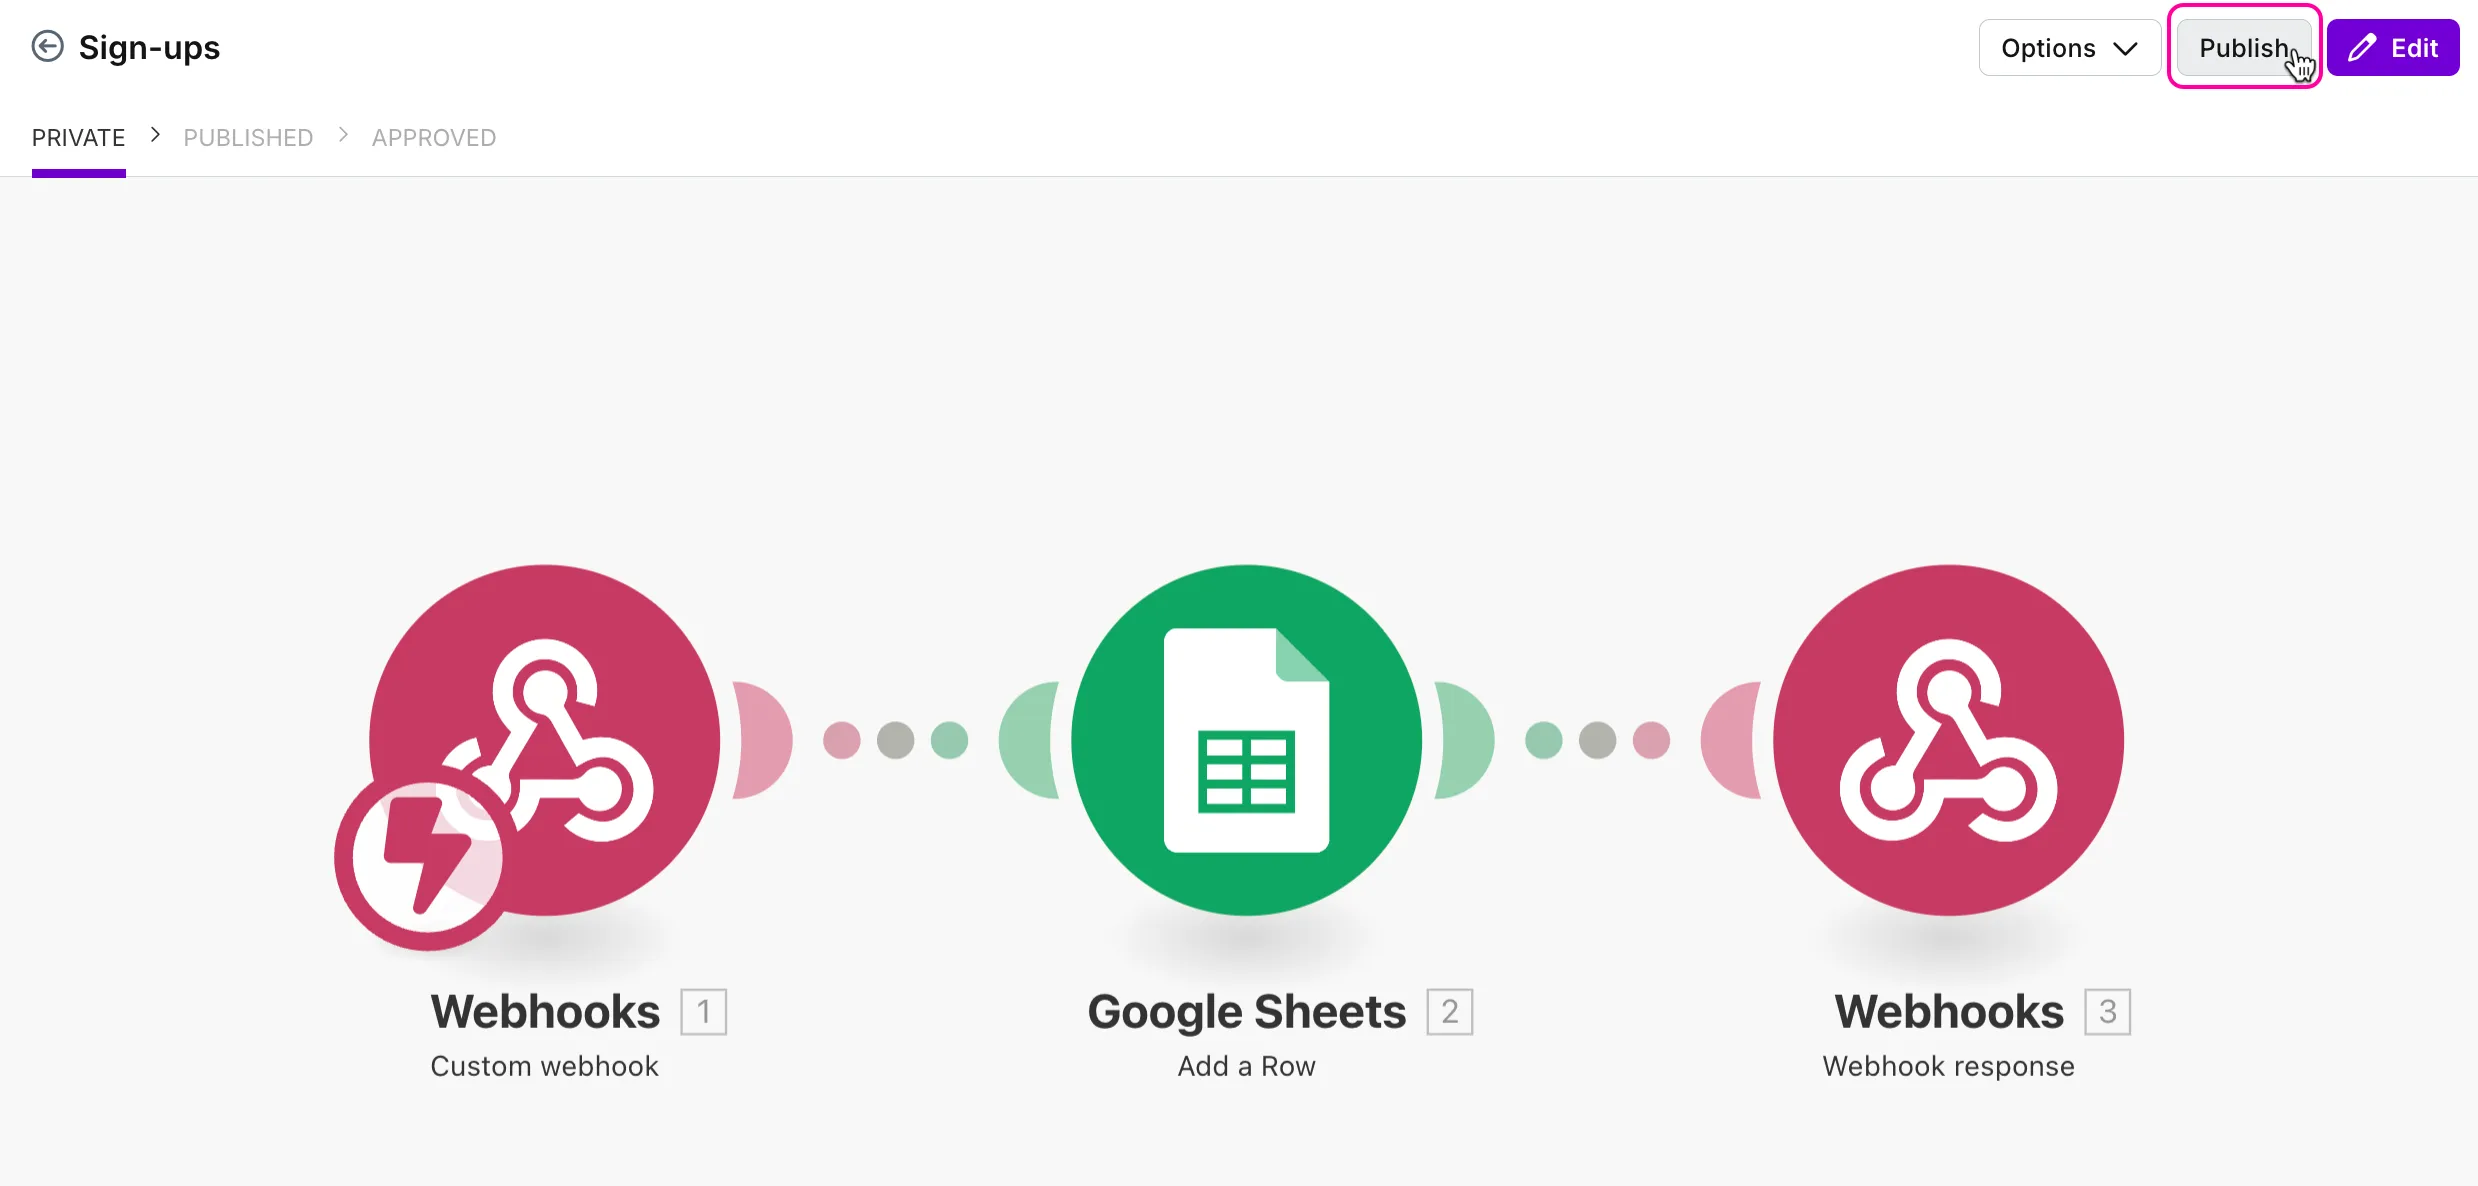
You can now share your template via a public URL with anyone outside your team.
To unpublish a template:
Open the template and click Options> Unpublish.

Alternatively, go to the Team templates tab, and click Unpublish next to the template's name.
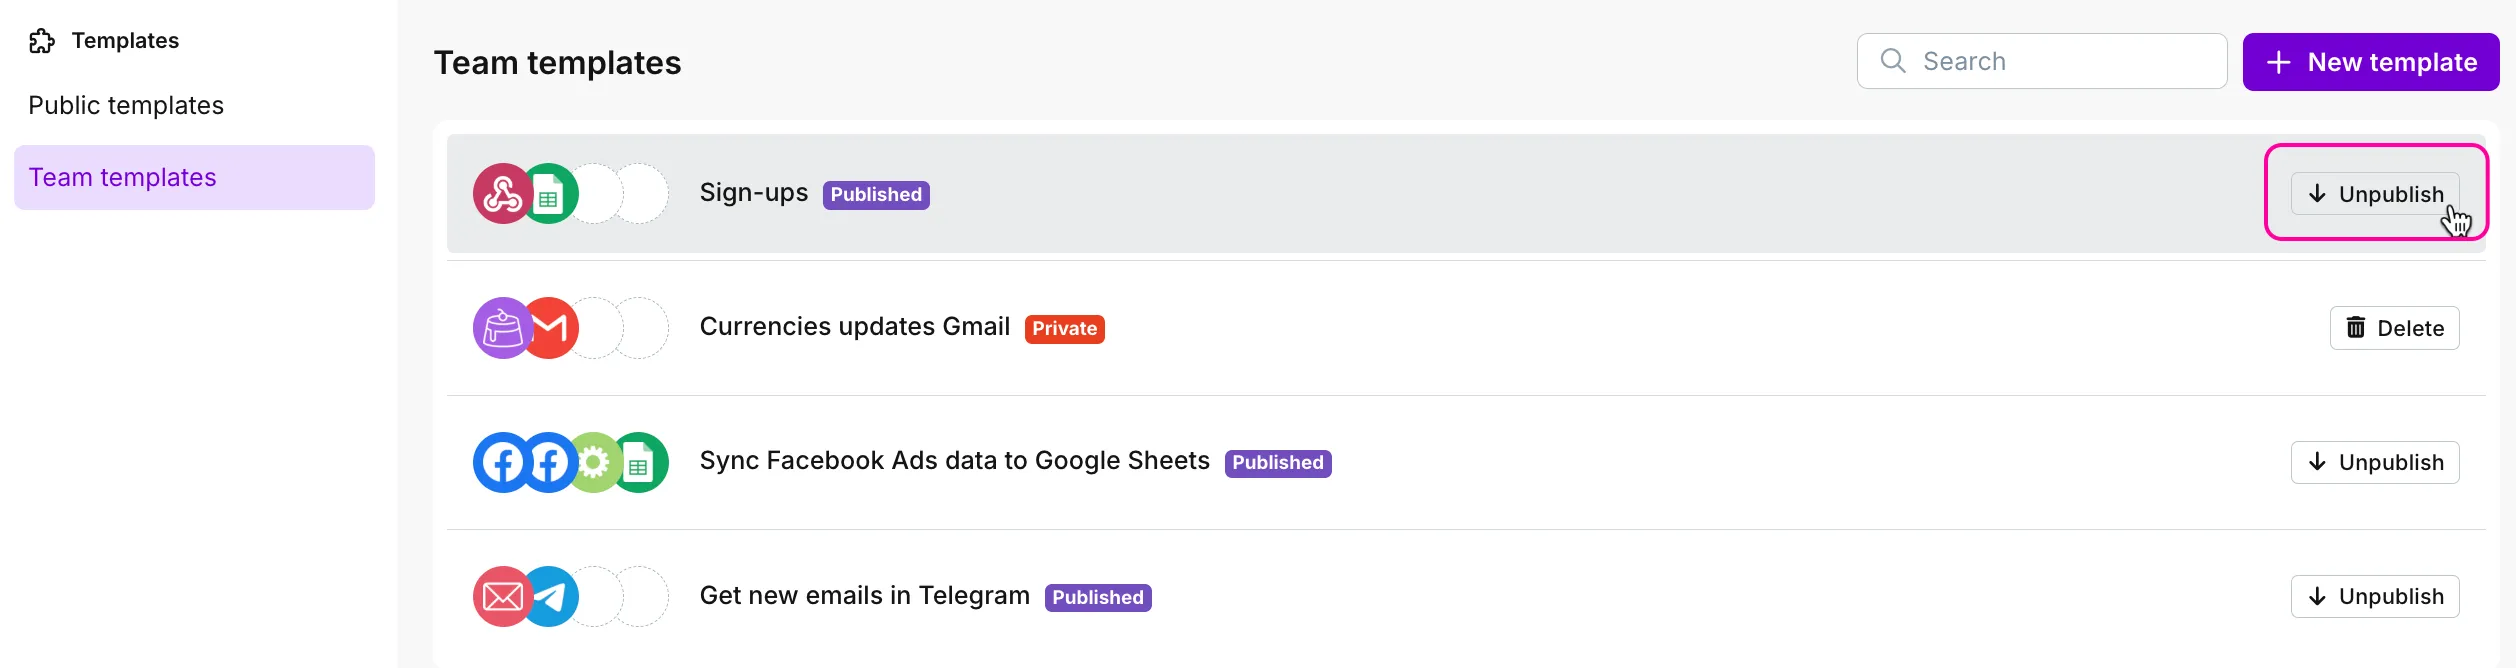
Once you unpublish the template, it becomes private (visible only to your team). Any public links you shared while it was published will no longer work.
Share scenario template via a public link
After publishing a template, you can share it with others via a public link.
To share a template:
Click Share public link in the upper-right corner.
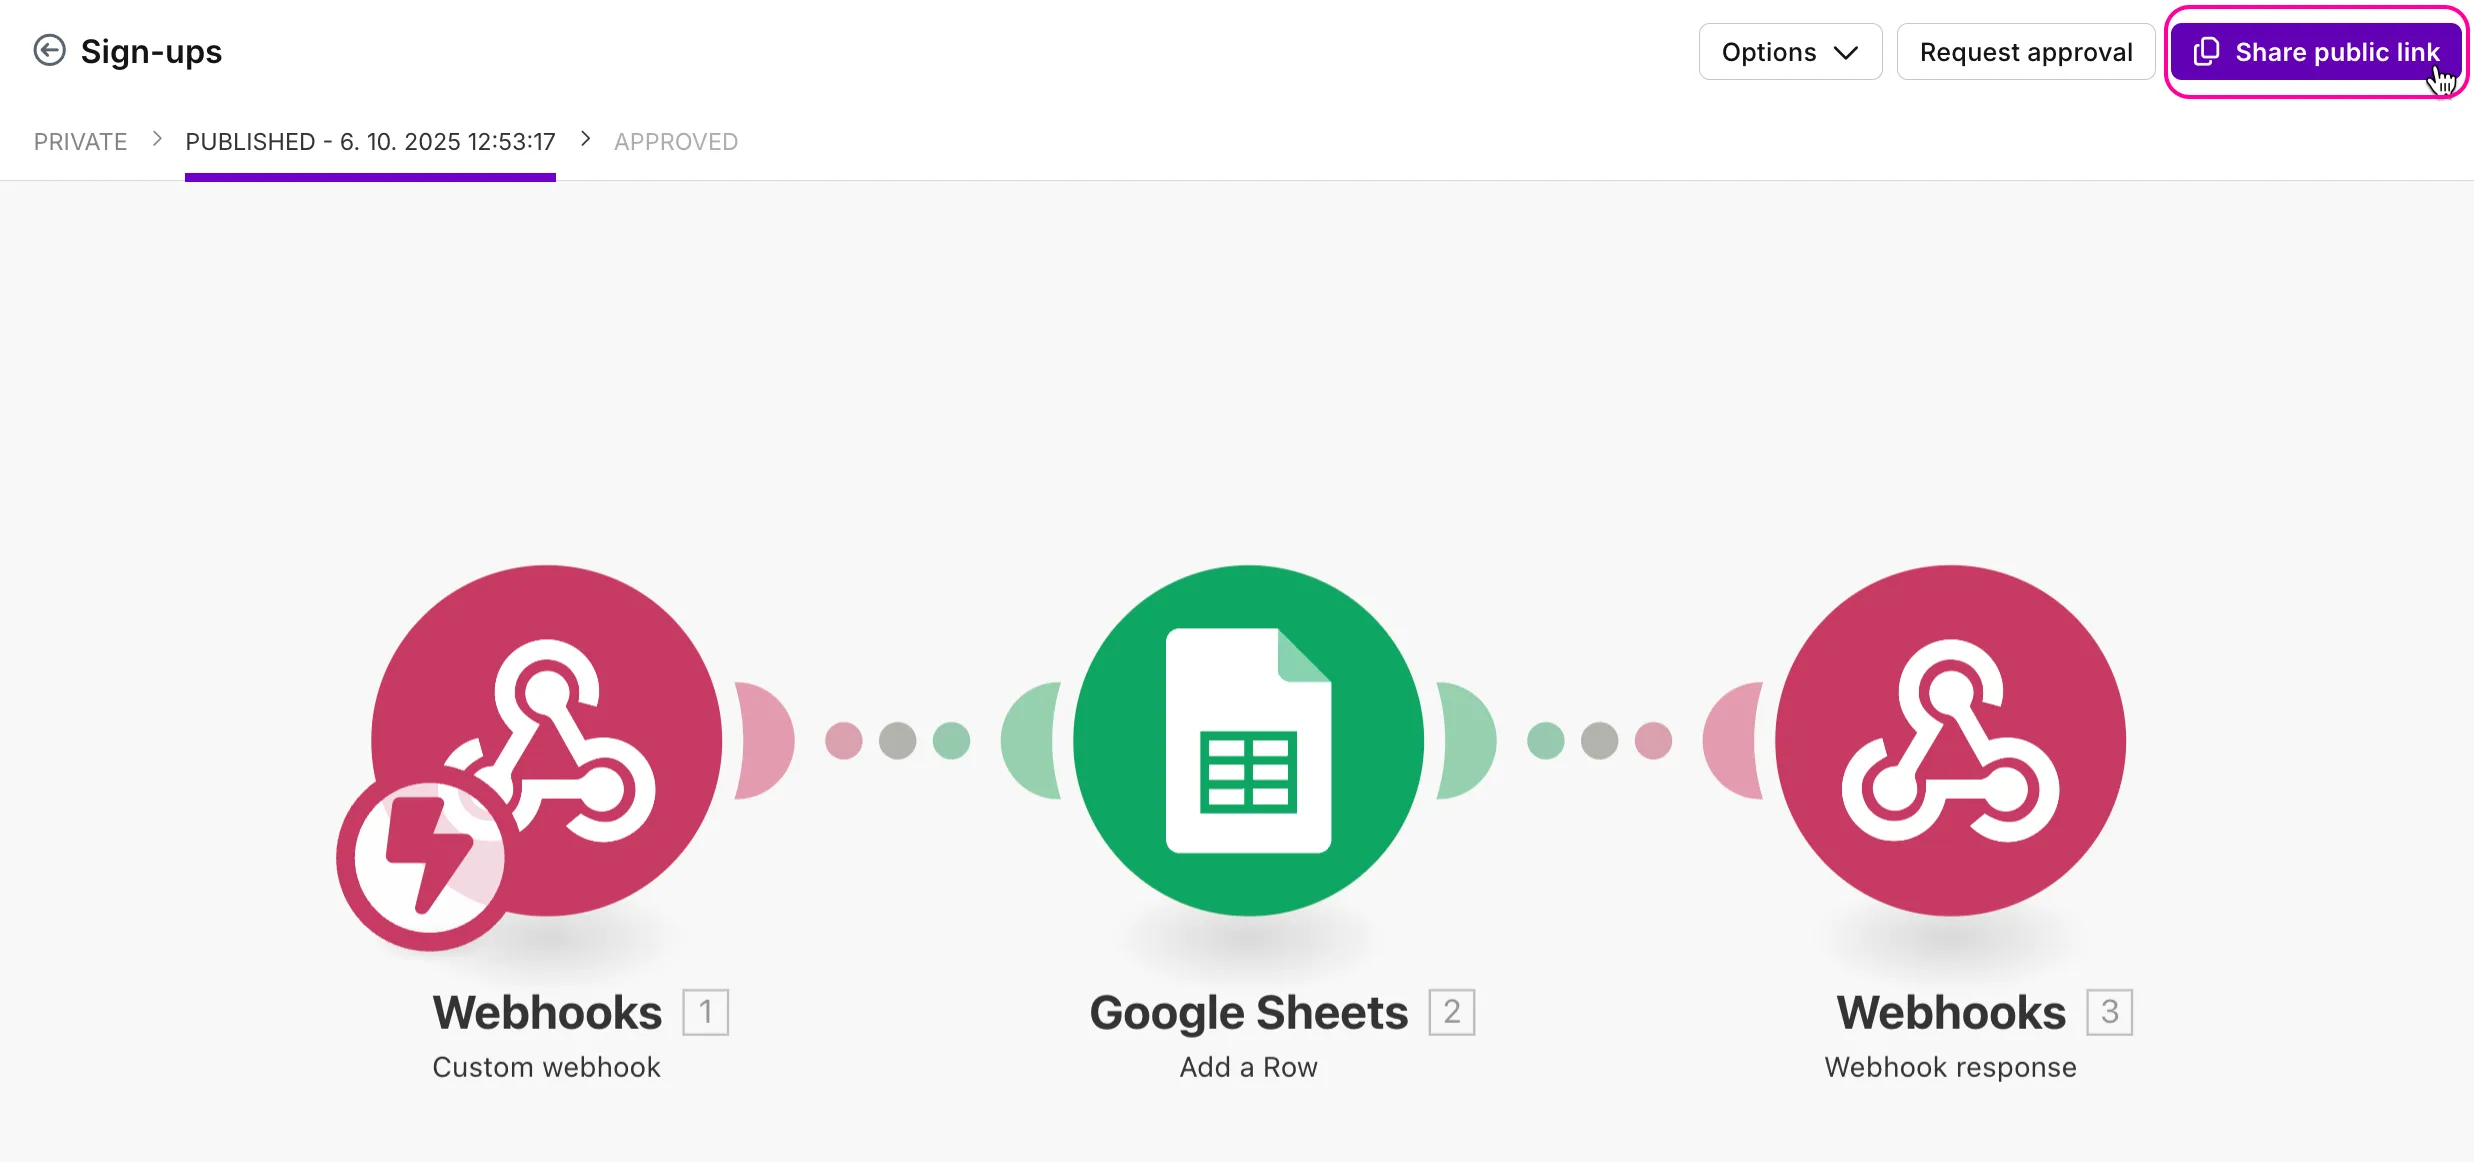
The link is now copied to your clipboard. You can paste it where needed.
People who get the link cannot edit or copy the template. They can only use it to create a scenario.
Request to add scenario template to the public library
You can submit a request to add your published template to our public templates library.
To request approval:
Open your published template.
Click Request approval.
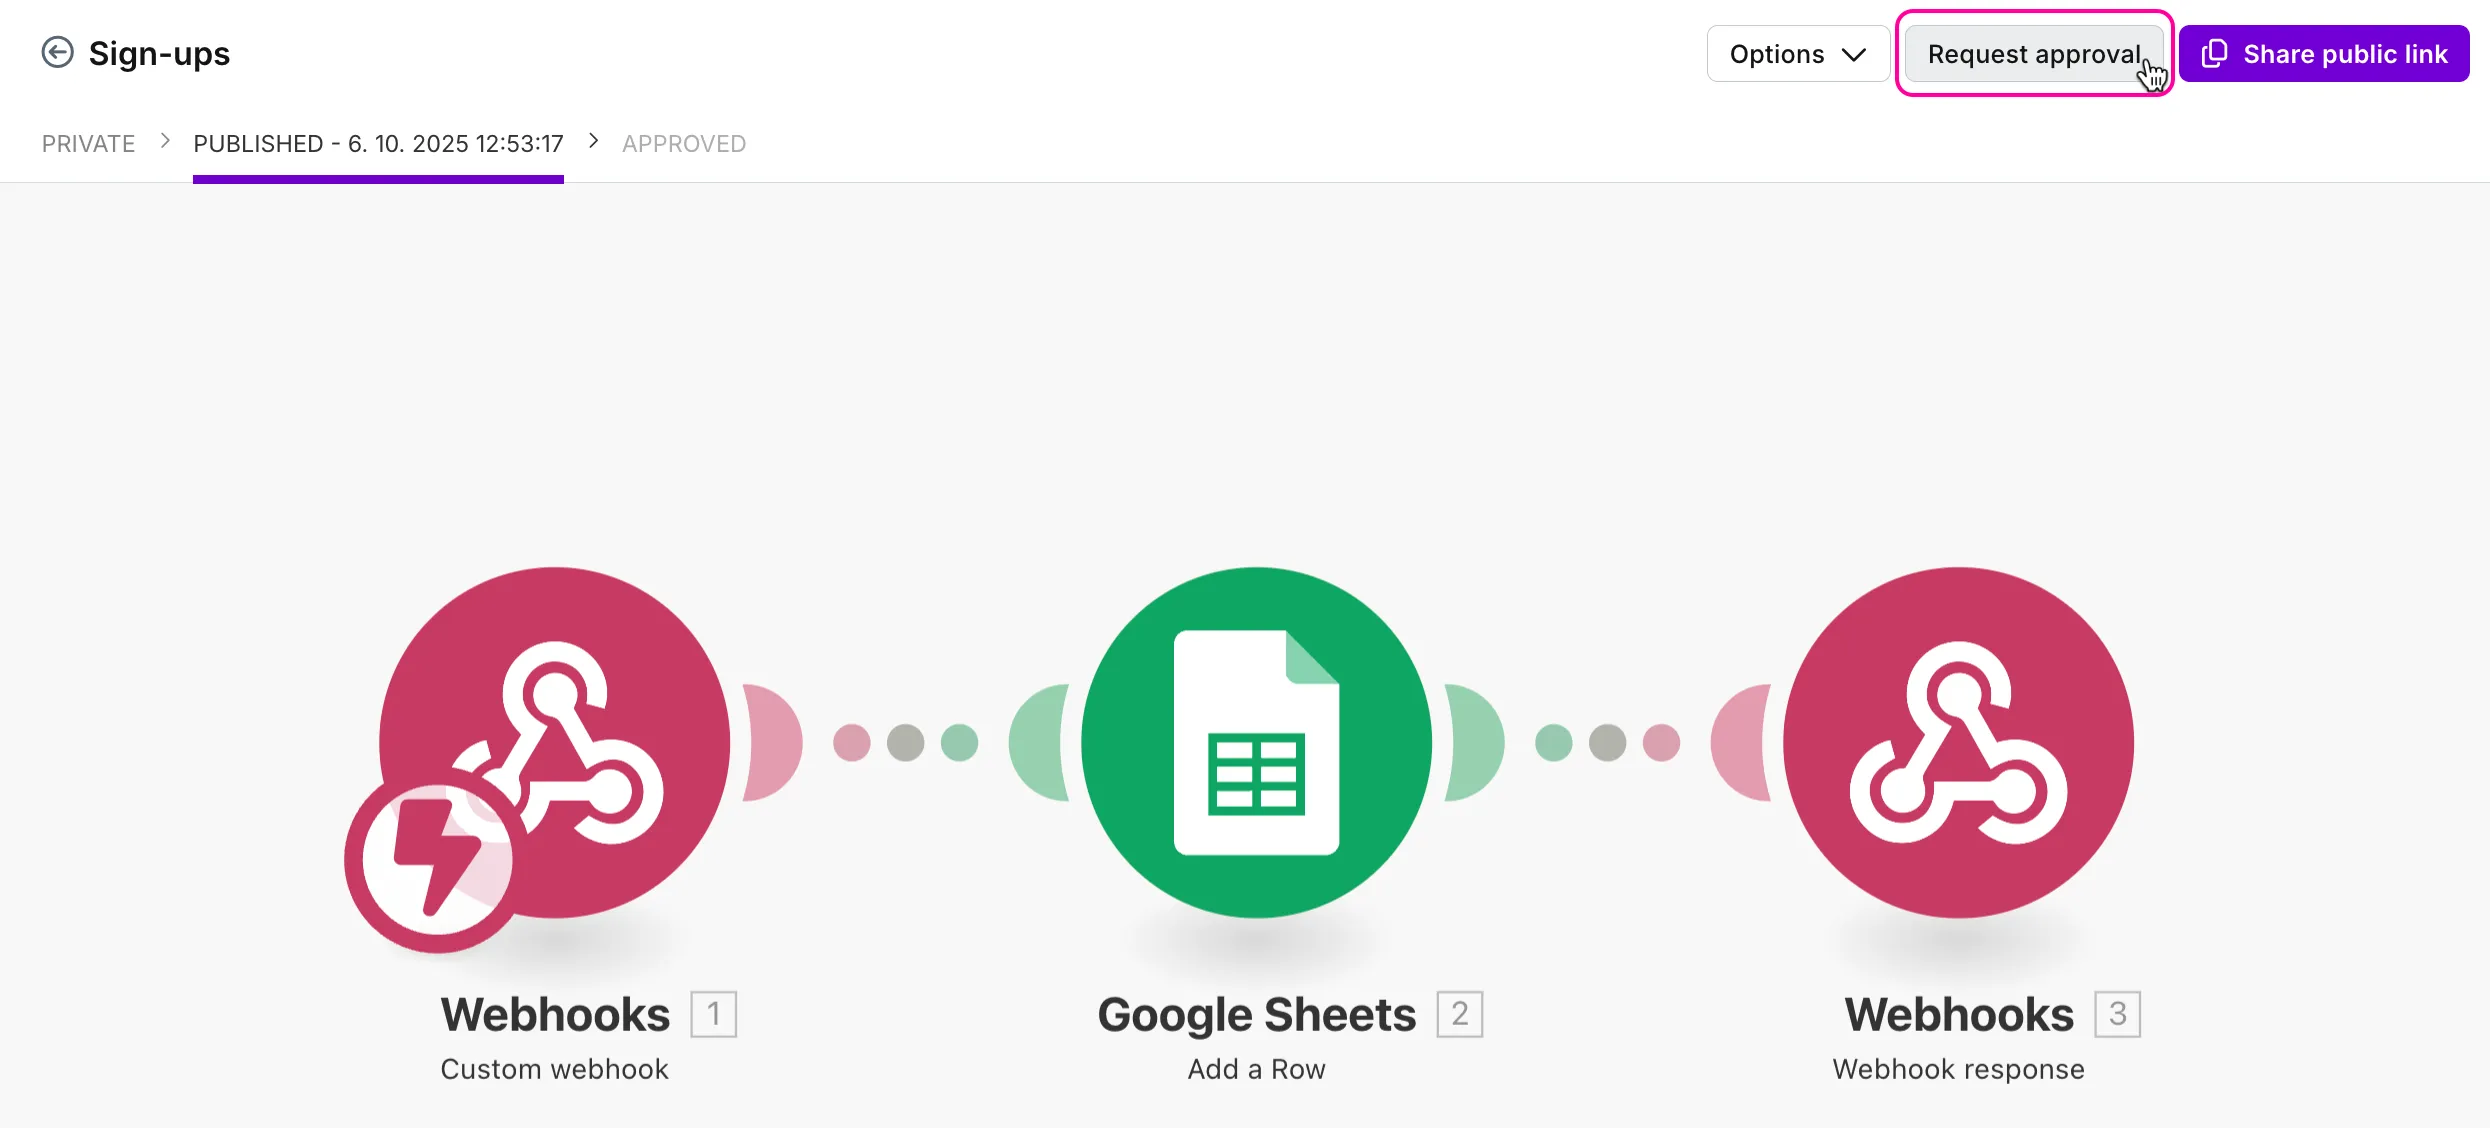
The template’s status changes to Approval pending.
Make’s administrator reviews your request.
If approved, the template will be added to the public templates library and visible in and on the .com website's template gallery.
You can always unpublish the template you've submitted to the public templates library and delete it. If you want to make edits to it, you need to unpublish the template, edit it, and submit it for approval once again.