Webhooks
Webhooks allow you to send data to over HTTPS. Webhooks create a URL that you can call from an external app or service, or from another . Use webhooks to trigger the execution of .
Webhooks usually act as instant triggers. Contrary to scheduled triggers, which periodically ask a given service for new data to be processed, webhooks execute the immediately after the webhook URL receives a request.
supports the following types of webhooks:
- App-specific webhooks listen for data coming out of a specific app, also called instant triggers.
- Custom webhooks allow you to create a URL to which you can send any data.
Creating app-specific webhooks
Many apps provide webhooks to execute whenever a certain change occurs in the app. These are called instant triggers. Instant triggers are marked with the label INSTANT in the list of an app's modules:

If an app does not provide webhooks, you can use polling triggers to periodically poll the service for new data.
Creating custom webhooks
To create a custom webhook, you must use Make's Webhooks app. You can find information regarding how to set up the Custom webhooks module in the Webhooks app documentation.
Scheduling webhooks processing
By default, when receives data on a webhook, your executes immediately. If you don't want to run your immediately after a webhook receives data, you can schedule your to process all webhook requests periodically.
Edit the which is triggered by your webhook.
Edit the schedule settings or edit the schedule settings of the webhook module.
Set up your desired schedule.
When a scheduled webhook receives data, stores the data in the webhook's queue. The whole queue is then processed every time your schedule criteria are met.
How processes webhooks
When a webhook receives a request, the system stores the request in the webhook's queue. Each webhook has its own queue. Go to the Webhooks section in the left menu to view all webhooks and their queues.
Parallel vs. Process data in order
If you are using instant webhooks, starts processing each request immediately as the request is received. By default, with instant webhooks are processed in parallel. Even if a previous execution is still being processed, does not wait for its processing to complete.
You can inspect all running executions in the detail. Click an item in the list of running executions to view the graphical representation of that particular execution. The execution that is currently displayed is marked with an eye icon.
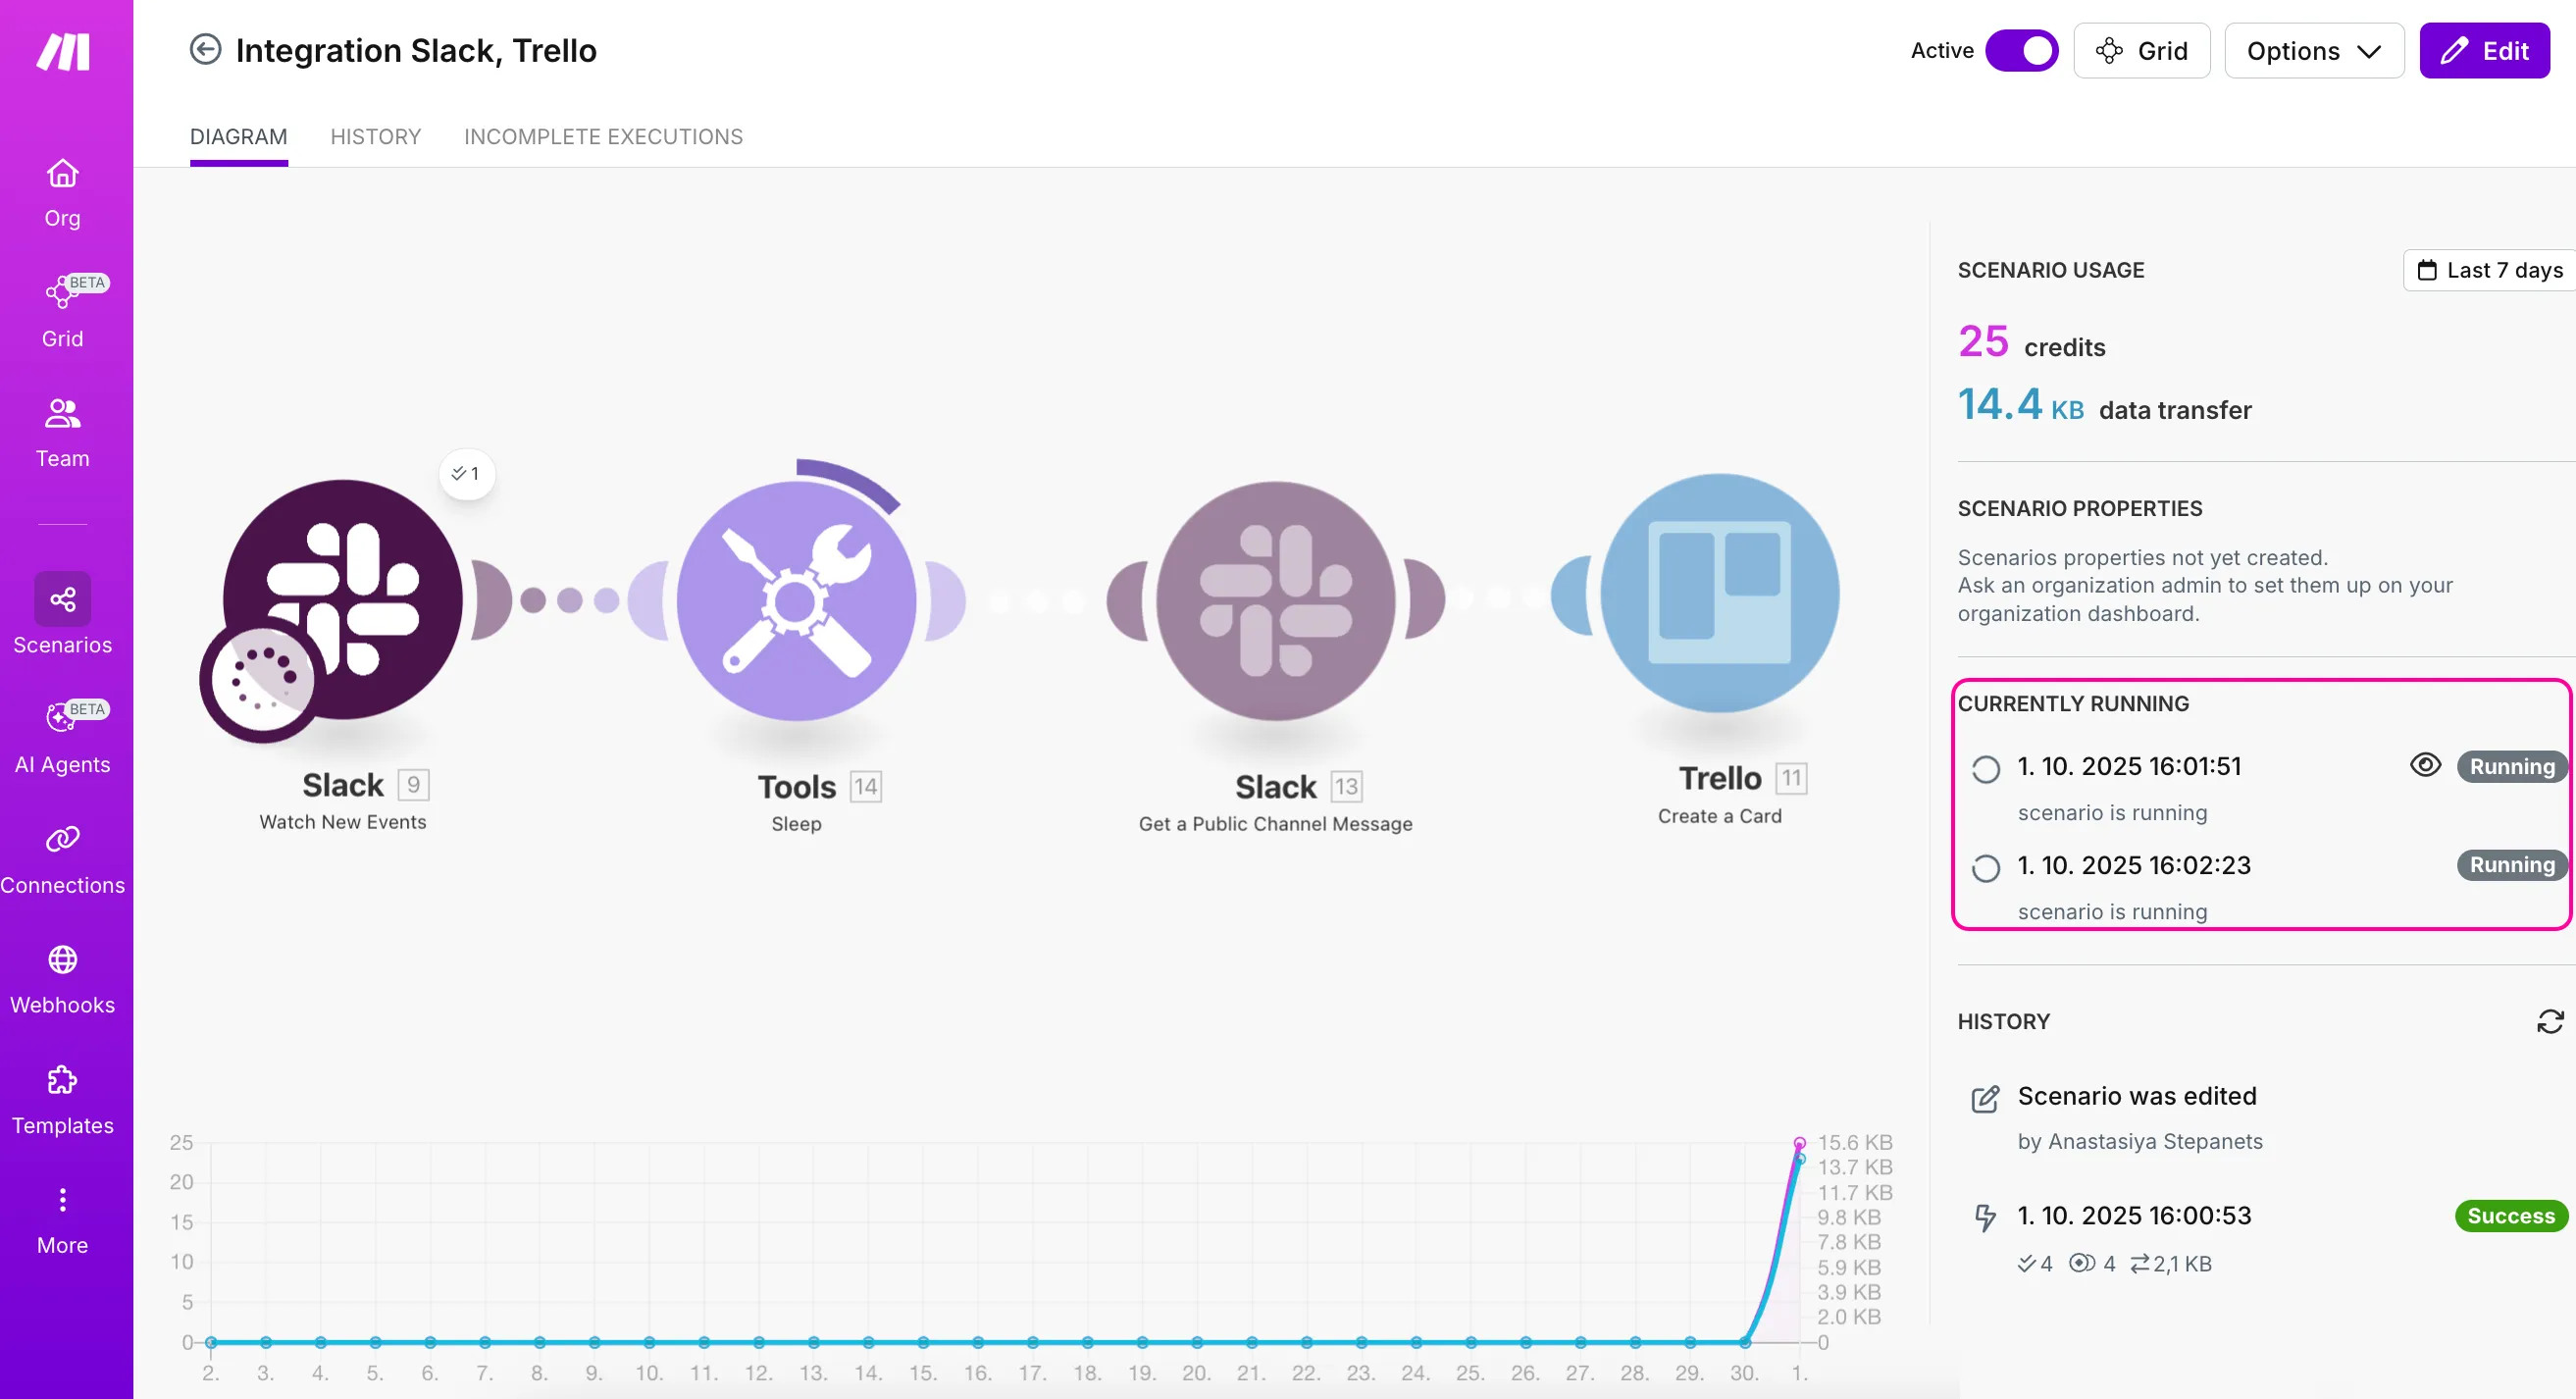
To turn off parallel processing, open the settings of your and select Process data in order. With Process data in order enabled, waits until the previous execution is complete before starting the next one. Also, use Process data in order when you need to process your webhook requests in the order that they came in.
Processing scheduled webhooks
If you are using scheduled webhooks, requests accumulate in the queue until the schedule criteria are met. When schedule criteria are met, processes the queued requests based on the Maximum number of results that you set for the webhook.
For example, if your scenario is scheduled to run every hour and your Maximum number of results is set to the default value of 2, processes two items from the queue every hour. If your webhook queue is filling up with requests, increase the Maximum number of results or adjust the schedule to execute the scenario more often.
Instant trigger modules have the Maximum number of cycles parameter instead of the Maximum number of results.
Set the Maximum number of cycles in the instant trigger modules to get the same data processing behavior as is with webhooks and the Maximum number of results parameter.
Webhook response module
The Webhook response module is typically used to send a response back to the service that triggered the webhook, confirming receipt or providing additional information. Without this module in your , the default responses are:
| HTTP status code | Body |
|---|---|---|
Webhook accepted in the queue | 200 | Accepted |
Webhook queue full | 400 | Queue is full |
Rate limit check failed | 429 | Too many requests |
Learn more about setting up a rate limit here.
You can further customize this response with the Webhook response module.
If you place the Webhook response module in the middle of a and an error occurs in a subsequent module, the will not be deactivated. This can result in increased consumption of credits as you will not receive notification of the error.
If you place the Webhook response module last, you will be notified if any error occurs at any point in the .
Webhook queue details
When data arrives to a webhook and the call is not processed instantly, stores it in the webhook processing queue.
The limit for the number of webhook queue items depends on your usage allowance, which is a part of your subscription. For every 10,000 credits licensed per month, you can have up to 667 items in each webhook's queue. The maximum number is 10,000 items in the webhook's queue.
When the webhook queue is full, rejects all incoming webhook data which is over the limit.
Incoming webhook data is always stored in the queue regardless of the data is confidential option settings. As soon as the data is processed in a , it is permanently deleted.
View webhook queue
To view the content of the queue, follow the steps below.
In the left sidebar, click Webhooks.
On smaller screens or at higher zoom levels, click the three dots and select Webhooks.
Select the webhook for which you want to view the queue.
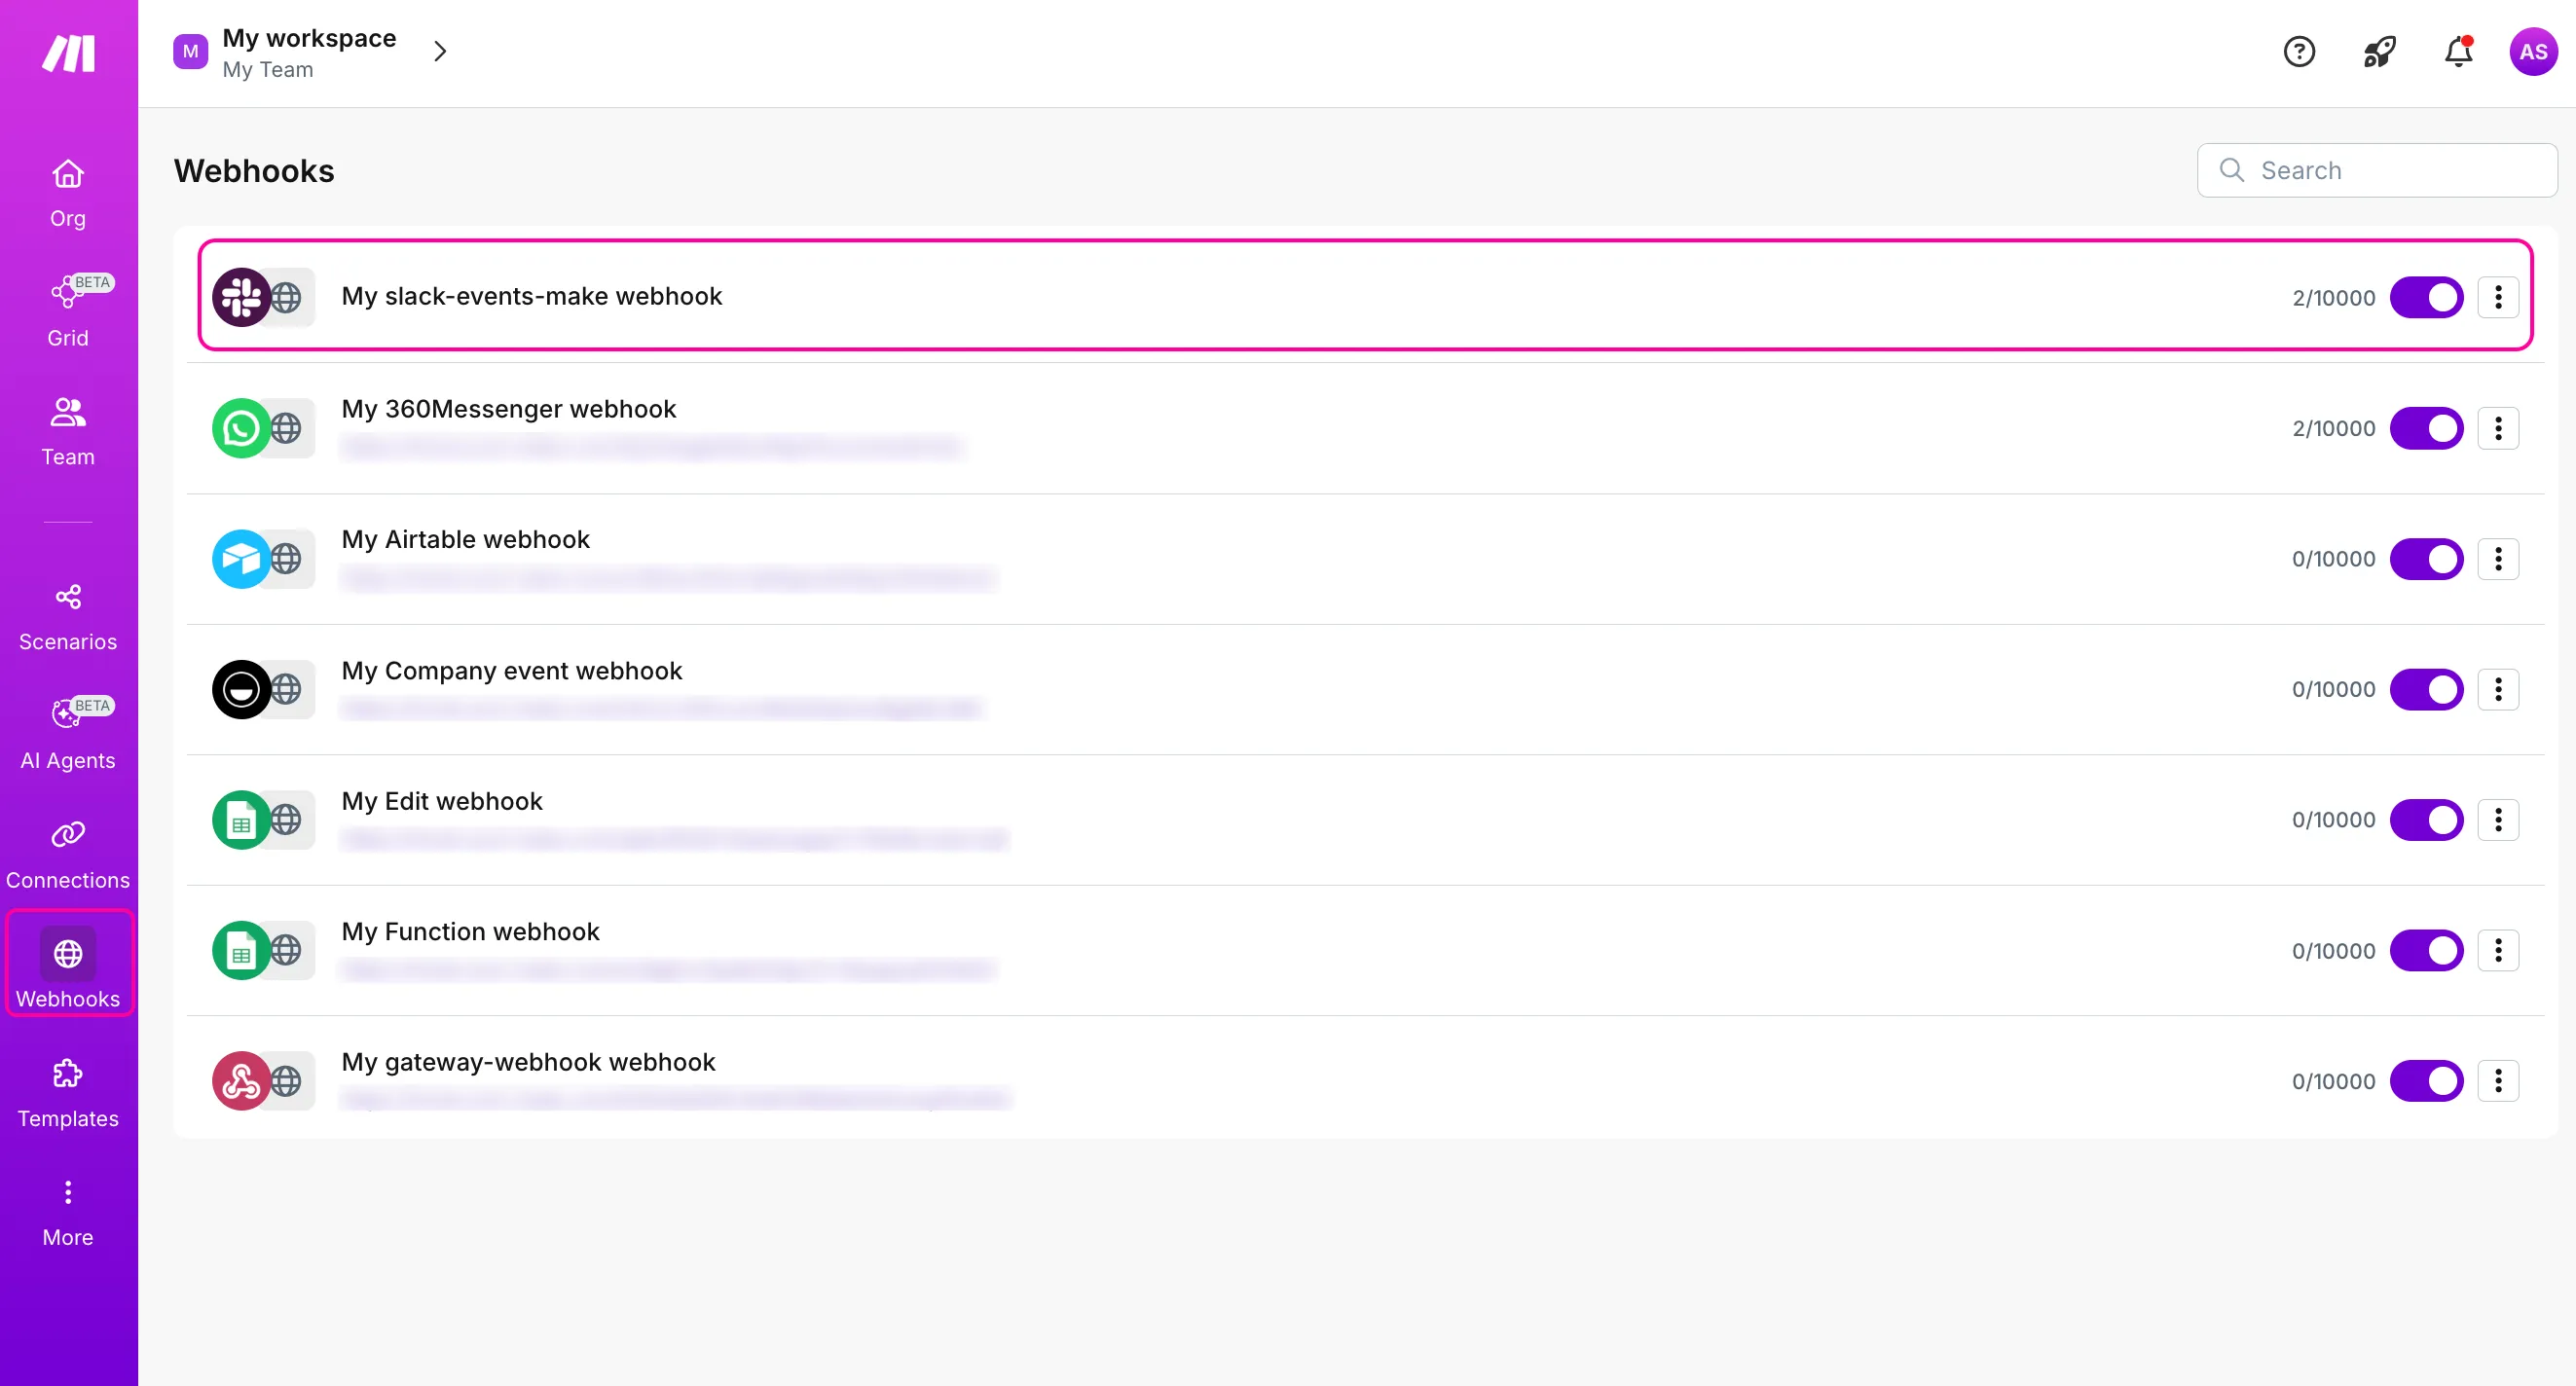
You will see the details of that specific webhook:
- Webhook status
- Status of your
- ID and URL
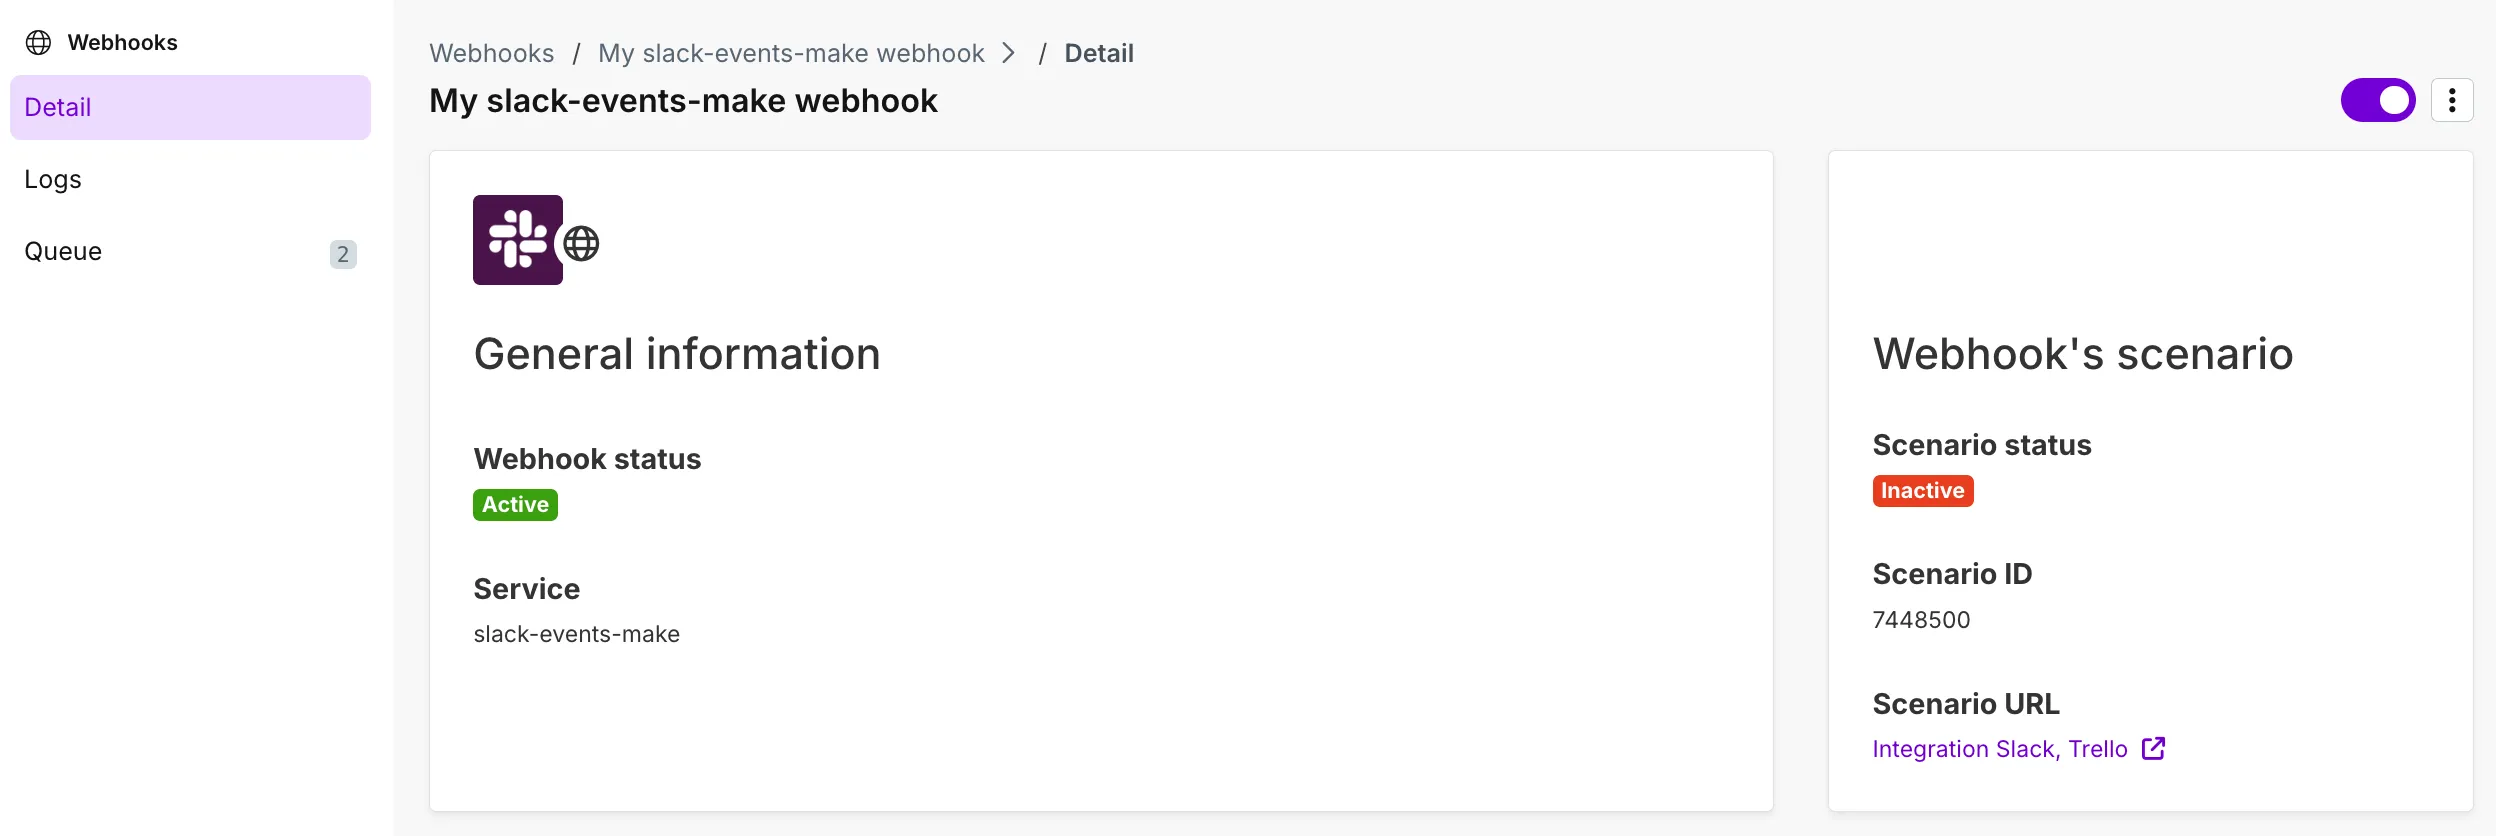
Some apps also include a Webhook URL and webhook UDID (unique webhook identifier).
To see the webhook's queue, switch to the Queue tab.

Click Detail next to the webhook you want to inspect.

You will see the parsed items.
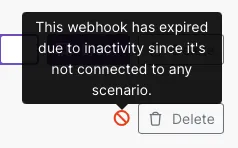
Expiration of inactive webhooks
automatically deactivates webhooks that are not connected to any for more than 5 days (120 hours). The hook return 410 Gone status code.
Delete webhook item from a queue
To delete a webhook item from a queue:
Go to Webhooks in the left sidebar.
Select the webhook to view its queue.
Switch to the Queue tab.
Tick the boxes on the left of the entries you want to delete, and click Delete selected.

To delete all, tick the first box on the left and then Delete all.

Click Delete to confirm.

You have deleted the incoming webhook item(s) from the queue.
Webhook logs
stores webhook logs for 3 days. For the organizations on the Enterprise plan, keeps the webhook logs for 30 days. deletes logs older than other retention limit.
To view webhook logs, follow the steps below.
In the left sidebar, click Webhooks.
On smaller screens or at higher zoom levels, click the three dots and select Webhooks.
Select the webhook for which you want to view the logs.
Switch to the Logs tab.
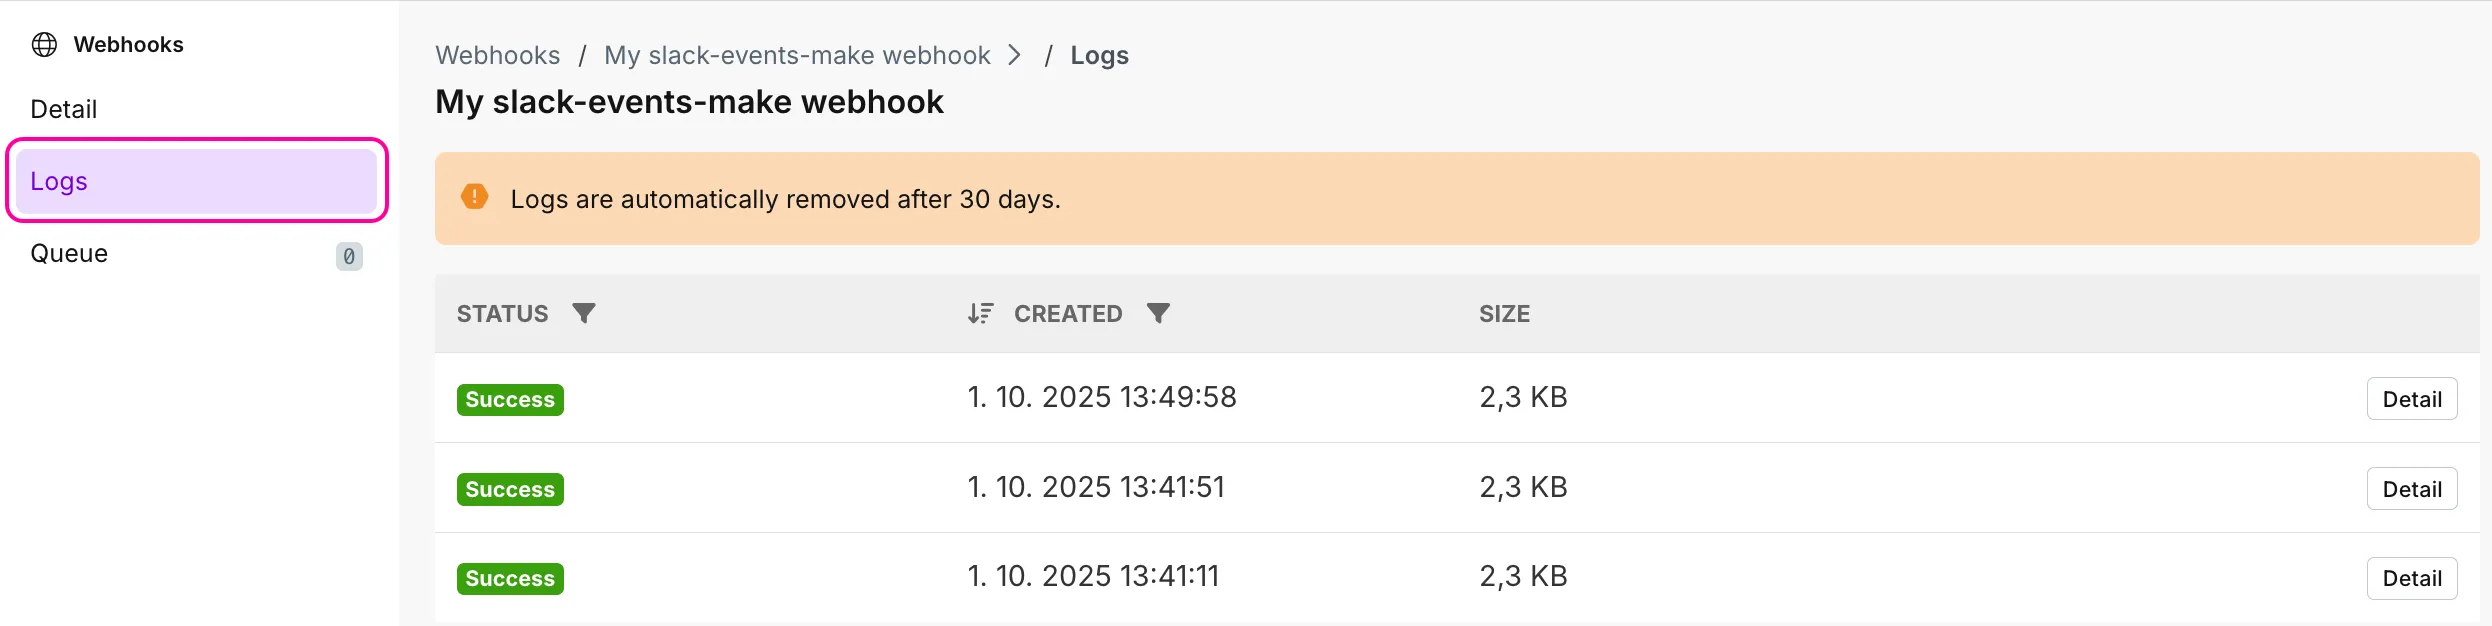
You can see:
- The status of the webhook call (success, warning, error, or all)
To filter the webhook logs by status, click the filter icon.

- Date and time of the incoming webhook
To sort the webhook log by date and time, click the arrow icon. To filter the webhook logs by date of creation, click the filter icon on the right and enter a date.

- Webhook execution log size
To see the details of the specific webhook log, click Detail.
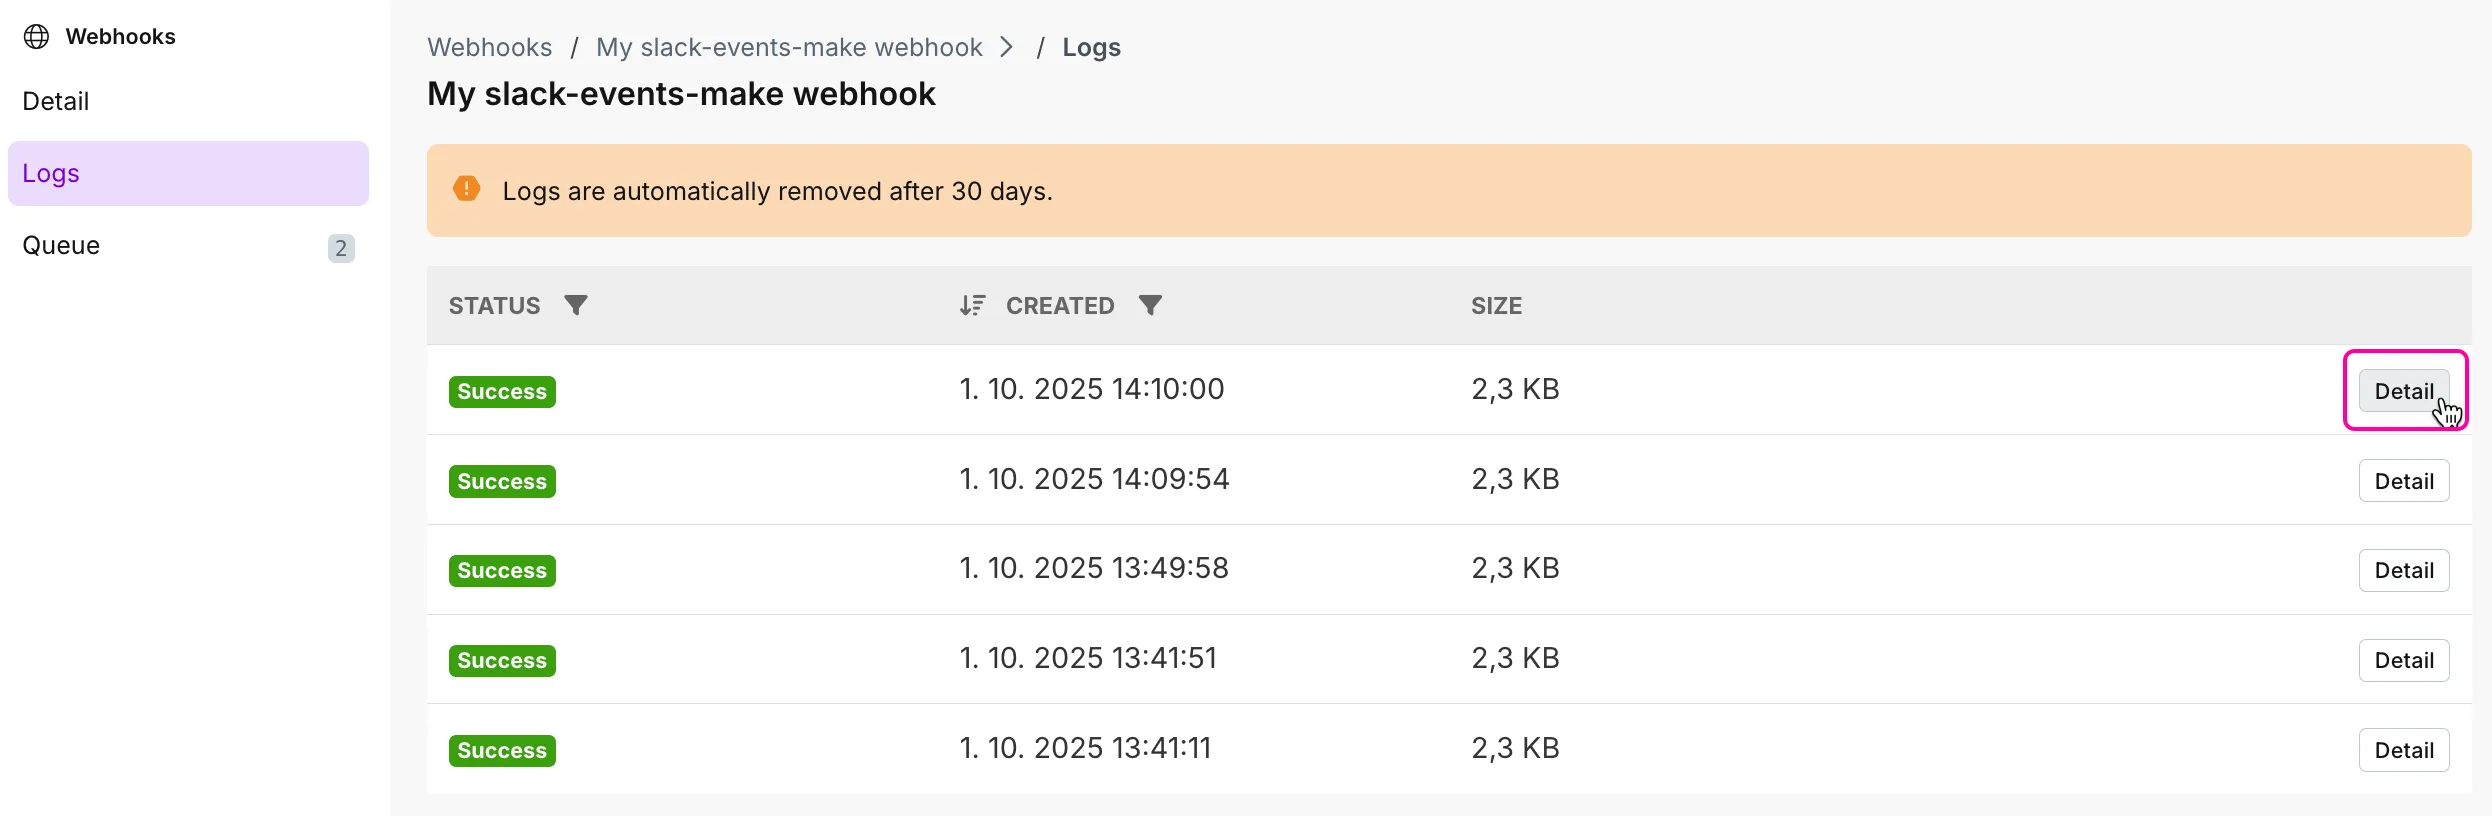
You will see:
- Webhook request (timestamp, URL, method, headers, query, body)
- Webhook response (status, headers, body)
- Parsed items
- Parsed items combine the query parameters and body of the webhook request in one bundle.
Updating webhook settings
You can update a webhook's settings when you use the Custom Webhooks module only. To learn more, see the Webhooks app documentation.
Error Handling
When there is an error in your with a webhook, the :
- stops immediately - when the scenario is set to run Immediately.
- stops after 3 unsuccessful attempts (3 errors) - when the scenario is set to run as scheduled.
Webhook rate limit
can process up to 300 incoming webhook requests per 10 second interval.
If you send more, the system returns an error with status code 429.